How to Remove Front Sprocket on a Bicycle
Introduction
Taking off the front sprocket of your bicycle is something you might need to do now and then. This could be part of giving your bicycle a good clean, fixing something, or putting on better parts. While it’s not too hard, you need the right tools and to take your time so you don’t hurt the bicycle or yourself.

This guide will show you the steps on how to remove front sprocket on a bicycle. You’ll learn what tools you need, and how to use them, so you can get the job done right without a trip to the bicycle shop.
Tools We Need to Remove Front Sprocket on a Bicycle
When you’re ready to take off the front sprocket of your bicycle, whether to clean it, fix it, or upgrade it, you’ll need to have the right tools on hand. Just like a chef needs the right knife for chopping, you’ll need specific tools to remove the sprocket safely and easily. Here’s what you should gather before you start:
- Chain whip
- Lockring wrench
- Crank puller
- Allen wrenches or hex keys
- Adjustable wrench
- Rags for cleanup
Having these tools ready means you’ll be set to remove your bicycle’s front sprocket without any hitches. When you’re done with the task, you’ll have the satisfaction of knowing you’ve taken another step in becoming a self-sufficient cyclist. Remember to clean your tools after you’re finished so they’re ready for the next time you need them.
How to Remove Front Sprocket on a Bicycle
Removing the front sprocket on a bicycle is a useful skill that can save you a trip to the repair shop. Here’s an expanded step-by-step guide:
Prepare Your Work Area
- Set up a clean space to work. Lay out a rag or mat to protect your floor and keep small parts from getting lost.
- Make sure you have all your tools within reach to avoid having to stop mid-process to look for them.
Secure the Bicycle
- Stabilize your bicycle so it won’t move around while you’re working. If you have a bicycle stand, that’s perfect. If not, you can carefully turn the bicycle upside down, resting it on the seat and handlebars.

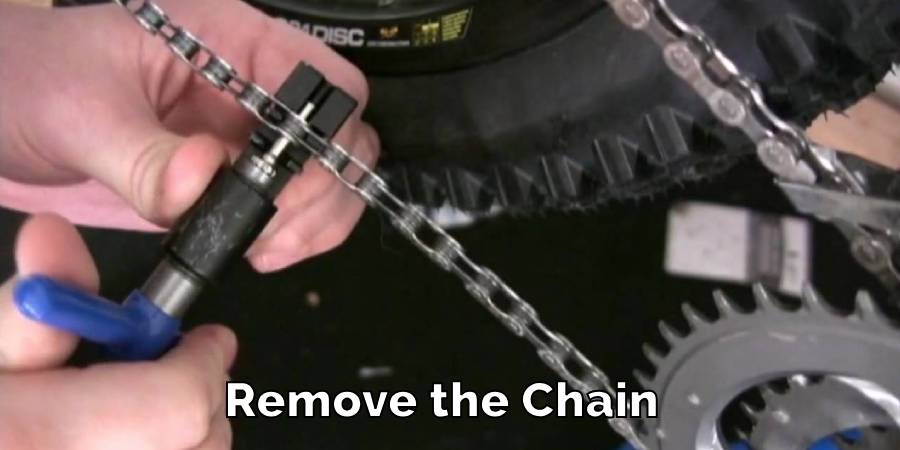
Remove the Chain
- Shift the chain to the smallest gear on the front sprocket, which makes it easier to take off.
- If your bicycle has a quick-release link, open it and remove the chain. If not, you may need a chain tool to push out one of the pins.
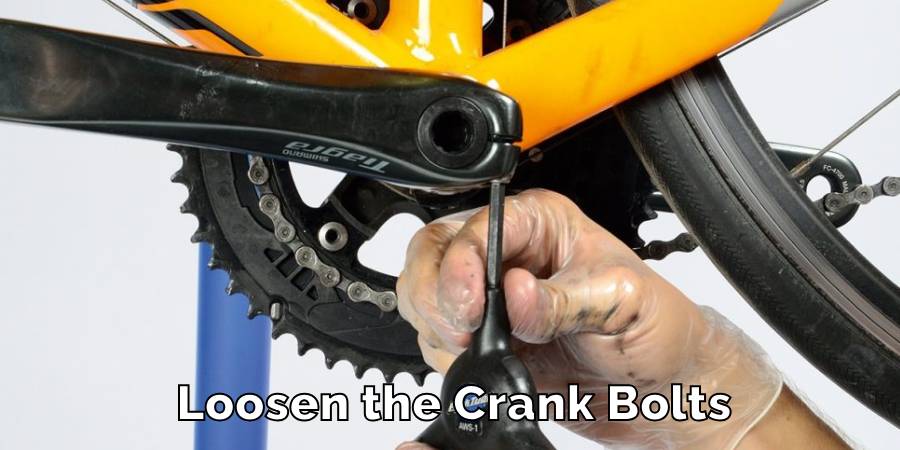
Loosen the Crank Bolts
- Find the bolts on the crank arms. These usually require an Allen wrench or hex key. Turn them counterclockwise to loosen and remove them.
- Keep these bolts somewhere safe, like a small container or on the rag you laid out, so they don’t roll away.
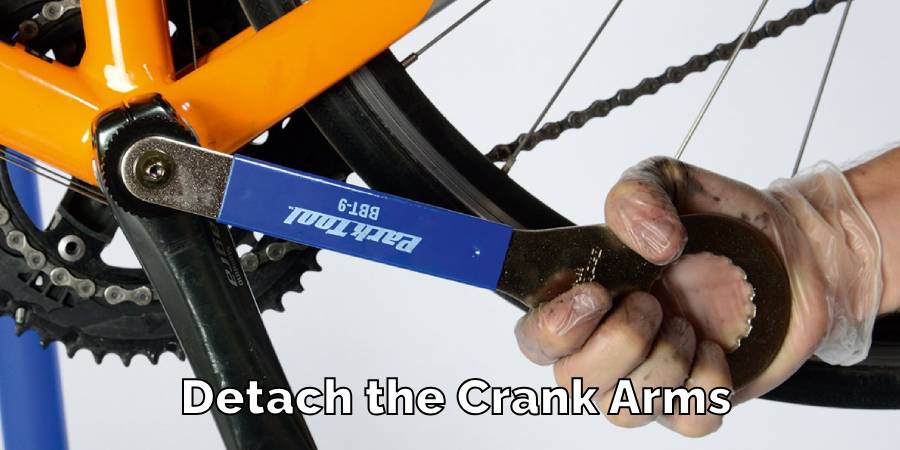
Detach the Crank Arms
- Now it’s time to use the crank puller. Screw it into the crank arm until it’s secure.
- Then, turn the handle of the puller to push against the spindle. This will free the crank arm. Do this on both sides.
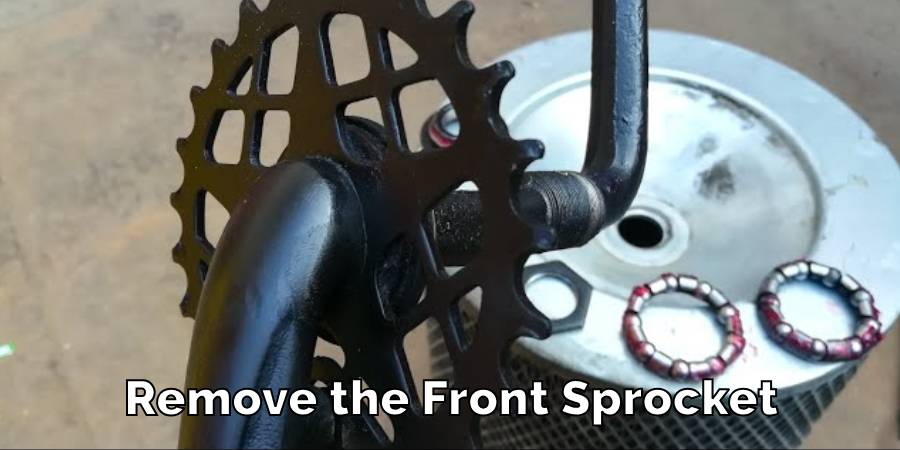
Remove the Front Sprocket
- With the crank arms out of the way, you can get to the front sprocket.
- If the sprocket is held on by a lockring, use the lockring wrench to unscrew it. For chainring bolts, you’ll need a tool like the Allen wrench or a specialized chainring tool.
Take Off the Sprocket
- Once all bolts or the lockring are removed, lift the sprocket off the bicycle.
- If it’s stuck, gently tap it with a rubber mallet or the handle of your wrench. Be gentle to avoid bending it or damaging the bicycle.
Finish Up
- After you’ve removed the sprocket, clean the area where it was mounted. This is a good chance to clear out any dirt or grime that’s built up.
- If you’re replacing the sprocket, compare it with the new one to make sure they’re the same size.
By following these steps, you can remove the front sprocket on your bicycle cleanly and safely. Always remember to handle each part with care and keep track of all components, especially the small ones. With your front sprocket removed, you can now proceed with maintenance, and upgrades, or simply give it a good clean.
How to Remove Front Sprocket From the Crank Set
Taking the front sprocket off the crankset is something you might do to replace it or give it a deep clean. Here’s how you can do it:
- Crank Arms Off: First, you need to remove the crank arms. You might have already done this part. If not, use a crank puller to carefully take both arms off the spindle.
- Unscrew the Bolts: Look for the bolts holding the sprocket, or chainring, in place. These are usually tightened pretty well, so you’ll need an Allen wrench or a chainring nut wrench to get them loose. Turn them counterclockwise to unscrew.
- Lift the Sprocket: With all the bolts unscrewed, you should be able to lift the sprocket straight off the crank. If it’s been on there a long time, it might need a gentle nudge to come loose.
- Clean and Inspect: Once it’s off, it’s a good time to clean the sprocket and the crankset where it was attached. Check for any wear or damage, too.
By following these steps, you can remove the front sprocket without fuss. Just be sure to keep track of all the bolts and parts, and handle everything gently to avoid any damage.
Precautions While Removing Front Sprocket on a Bicycle
When you’re getting ready to remove the front sprocket from your bicycle, keeping safe is just as important as the right tools. Here’s what you should keep in mind:
- Hand Protection: Put on a pair of gloves. This will keep your hands clean from the bicycle grease and protect you from any sharp parts inside the sprocket area.
- bicycle Stability: Make sure your bicycle won’t tip over while you’re working on it. If you’re using a bicycle stand, double-check that it’s clamped securely. If the bicycle is upside down, ensure it’s on a flat, stable surface.
- Use Correct Tools: Make sure you use the right size tools for the job. If you use an Allen wrench or a socket that’s too big or too small, you might round off the edges of the bolts, making them very difficult to remove.
- Go Slow: Take your time with each step. Rushing might cause you to slip with a tool, which could scratch your bicycle or hurt your hand.
- Keep Track of Parts: As you remove parts, put them somewhere safe where they won’t get lost or mixed up.
By following these tips, you’ll help prevent accidents and avoid damaging your bicycle. Plus, you’ll ensure that the job is done properly, keeping your bicycle in good shape for your next ride.
FAQ’s
Can You Change the Sprocket on a Bicycle?
Yes, changing a bicycle’s sprocket is absolutely possible and is a common part of bicycle maintenance or customization. With the correct tools like a chain whip, a lockring tool, and a bit of mechanical know-how, you can replace either the front or rear sprocket.
This task can refresh an old bicycle, adapt a bicycle for different riding conditions, or improve performance. Beginners might find this challenging, but with practice, it becomes a straightforward task.
Can You Change the Front Sprocket Without Removing the Chain?
Typically, you’ll need to remove or at least loosen the chain to swap out the front sprocket. The chain is in direct contact with the sprocket, and to safely and effectively change it, you must first free the chain.
However, if you’re just making minor adjustments or cleaning, you might get by without fully removing the chain, but it’s not recommended for a complete sprocket change.
Is It Better to Change the Front Sprocket or the Rear?
The decision to change the front or rear sprocket depends on what you want to achieve with your bicycle. If you’re looking to change the basic gearing setup of the bicycle, then adjusting the front sprocket is the way to go. It can make pedaling harder or easier, which is significant when you’re facing hills or wanting more speed.
The front sprocket change is often more noticeable compared to the rear. On the other hand, changing the rear sprocket allows you to fine-tune your bicycle’s gearing in smaller increments.
It’s a bit like choosing between gears on a car; the rear sprocket helps you decide whether you want the bicycle to be quicker off the mark (acceleration) or have a higher top speed. It’s great for refining how your bicycle rides without altering the overall gear ratios too drastically.
Conclusion
Removing the front sprocket of a bicycle is a straightforward process that can be done at home with the right tools. Whether you’re maintaining your bicycle or upgrading parts, it’s a useful skill that can save time and money.
Always take precautions to ensure your safety and to protect your bicycle from any potential damage. This article has explored how to remove front sprocket on a bicycle.
You may read also – How to Lock Helmet to Bicycle