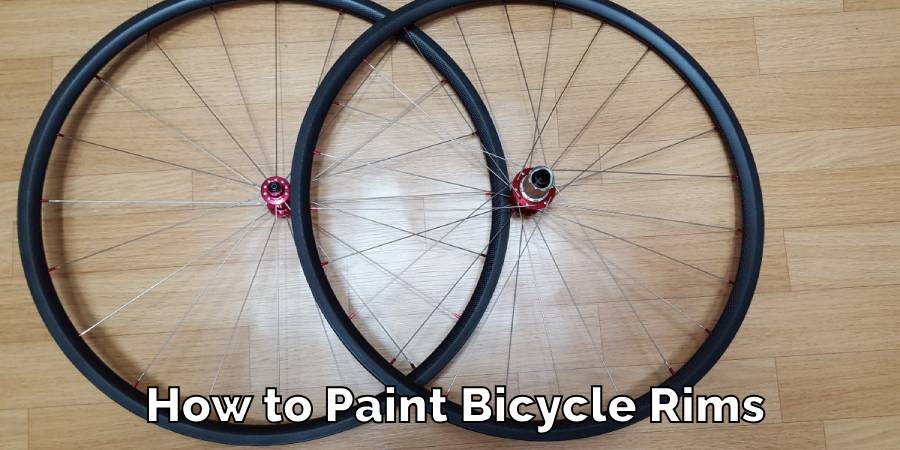
How to Paint Bicycle Rims
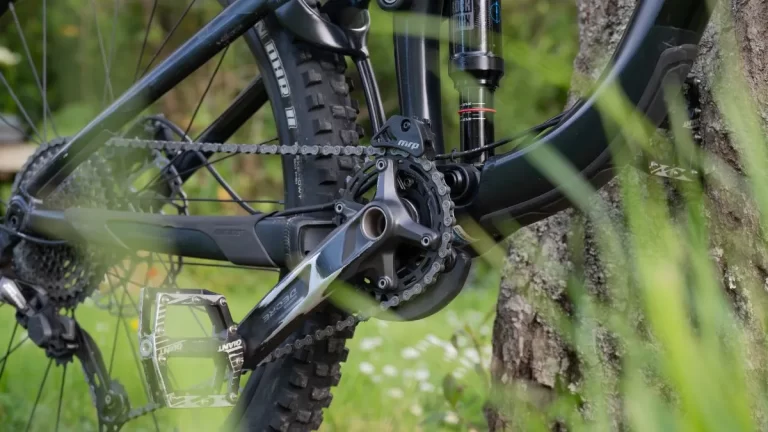
Painting bicycle rims is more than just adding a new color. It’s a way to make your bike reflect who you are. A fresh paint job not only makes your bike look unique but also protects the rims from rust and damage. This means your rims will stay looking good for longer.
Painting correctly is key to avoiding frequent touch-ups. It helps the paint last and keeps your rims looking their best. This guide will show you how to choose the right paint and apply it the right way.
We’ll go through all the steps you need to follow, along with some helpful tips and tricks, to get a great-looking finish that’s also tough. Let’s dive in and learn how to paint bicycle rims a perfect new look.
Why You Need to Paint Bicycle Rims
Giving your bicycle rims a fresh coat of paint goes beyond just improving their appearance it’s a practical move to safeguard them against the elements. A new layer of paint acts as a barrier, fending off rust and hiding existing scratches that may have accumulated over time.
It’s an effective way to breathe new life into your bicycle, making it look brand new without the hefty price tag of a full replacement. High-quality paint serves as armor for your rims, warding off the usual scrapes and damage from daily use.
Furthermore, painting your rims allows you to customize your bicycle to your liking, making it a unique reflection of your personal style. It’s an affordable upgrade that not only boosts the look of your bicycle but also enhances its overall longevity. With a well-executed paint job, your bicycle rims can stay in top condition, ready to roll out in style whenever you are.
Tools We Need to Paint Bicycle Rims
The project of painting your bicycle rims requires assembling the right set of tools. Each tool plays a crucial role in ensuring a smooth and successful painting job:
- Sandpaper: You’ll need various grits to properly prep the surface of the rims. Starting with a coarser grit for removing old paint and finishing with a finer grit for smoothing the surface is best.
- Primer: This is the first protective layer that goes onto the metal, helping your paint adhere and last longer.
- Paint: Choose a type designed for metal surfaces to ensure it sticks and doesn’t flake off.
- Clear Coat: This is your rim’s shield, providing protection from scratches and the weather, while also adding a professional-looking finish.
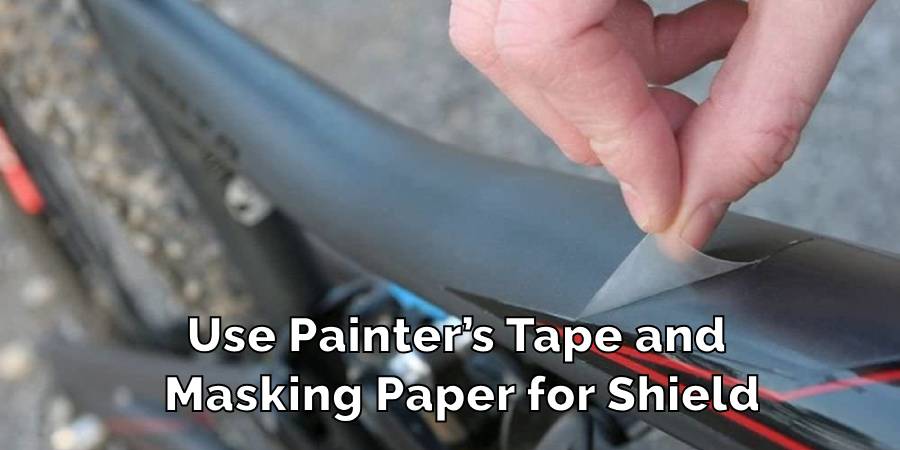
- Painter’s Tape: Essential for protecting the areas of the wheel you don’t want to paint, such as the tire and spokes.
- Masking Paper: To cover larger sections and protect them from spray mist.
- Safety Gear: Gloves to keep your hands clean, a mask to avoid inhaling fumes, and goggles to protect your eyes.
- Cleaning Solvent: For cleaning the rims before starting, ensuring there’s no grease or dirt.
- Rags: Handy for wiping down surfaces before painting and cleaning up any spills.
Gathering these tools is the first step in your rim-painting journey. Once collected, you’ll have everything you need to begin transforming your bicycle’s rims with a new coat of paint.
Your preparedness will pave the way for a smooth and efficient painting process, leading to a satisfying result that not only looks good but is also long-lasting.
How to Paint Bicycle Rims
Painting your bike rims is a cool way to make your bike look new and show off your style. Here’s how to do it step by step:
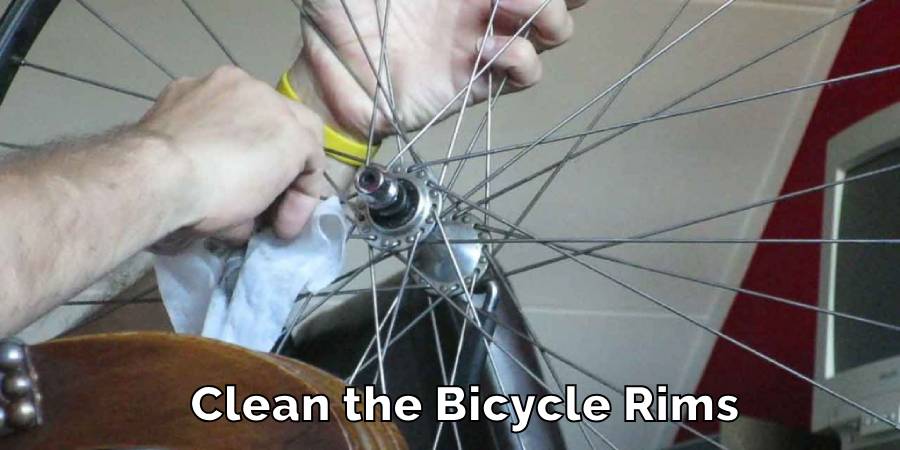
Clean the Rims
First, you need to clean the rims really well. Use some cleaner and a cloth to remove any dirt, oil, or old paint. Make sure they’re completely clean.
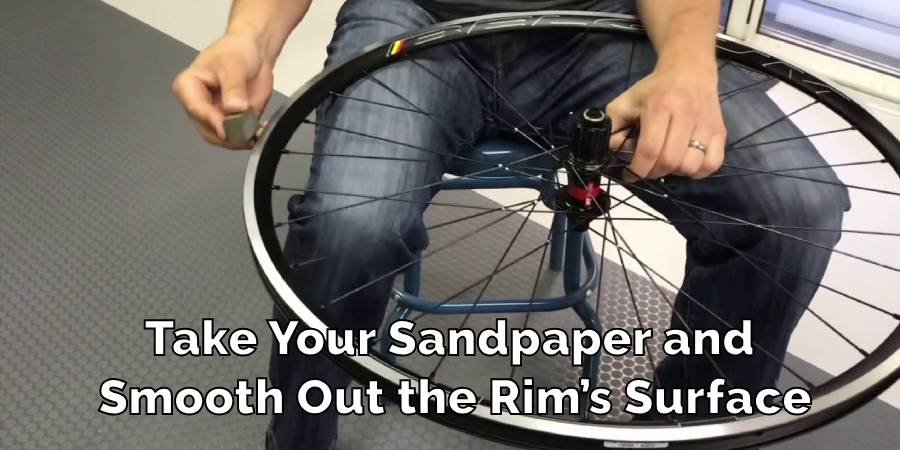
Sand the Surface
Next, use sandpaper to smooth out the rims. Start with rough sandpaper to remove old paint and then use finer sandpaper to make the surface smooth.
Apply Primer
Spray a layer of primer made of metal on the rims. This helps the paint stick better and stops rust. Let the primer dry as long as the instructions say.
Tape and Mask
Use painter’s tape and paper to cover the parts you don’t want to paint, like the tire or parts of the rim.
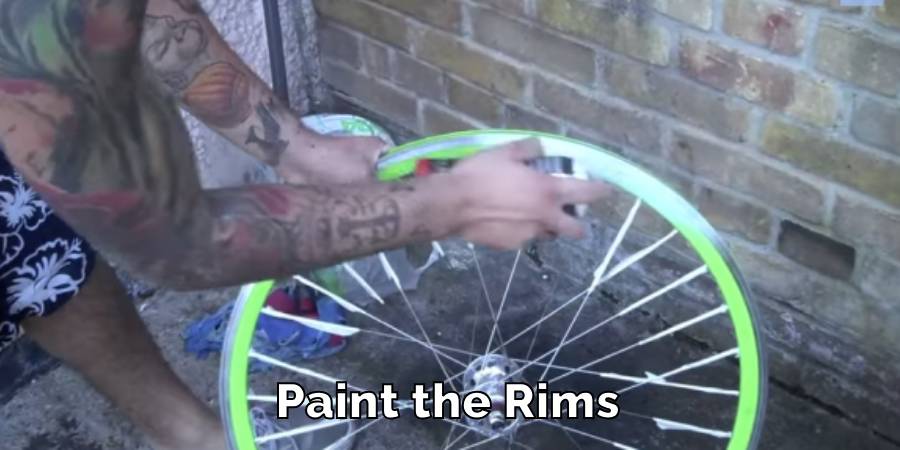
Paint the Rims
Now, spray the paint on the rims. Do it with light, even layers to avoid runs. Move the spray can back and forth, and let the paint dry between coats.
Apply Clear Coat
After the paint is dry, put on a clear coat. This makes the paint shinier and protects it from weather and scratches. Let it dry completely.
Remove Tape and Paper
Once the clear coat is dry, take off the tape and paper carefully.
Let it Cure
Finally, let the rims sit for the time the paint instructions recommend before you put the bike back together or ride it.
If you follow these steps, you’ll end up with bike rims that look professionally done. They’ll not only look awesome but will also be protected from wear and tear. Take your time with each step to get the best results, and have fun making your bike truly yours.
FAQ’s
What kind of paint should I use on a bicycle frame?
For your bicycle frame, the best choice is automotive-grade acrylic or spray paint that’s specially formulated for metal surfaces. This kind of paint is tough and reliable, created to stick to metal and withstand the kind of scrapes and bangs a bicycle typically endures.
It’s also resistant to the effects of water and sun, keeping your bicycle looking sharp through all kinds of weather. When choosing your paint, look for words like ‘for metal’ or ‘automotive’ on the label to ensure you’re getting the right type. This will help you achieve a smooth, lasting finish that will keep your bicycle looking as good as new for longer.
Can you paint bicycle tires?
It might be tempting to paint your bicycle tires to match your freshly painted frame, but it’s not a good idea. Bicycle tires are made to grip the road, and paint can fill in the textures on the tire surface that are designed for traction. Plus, the paint isn’t likely to stick well to the rubber and could crack or peel off, making your tires look patchy.
Safety-wise, painted tires could be slippery, especially in wet conditions, and that’s a risk you don’t want to take. Instead of painting, consider tire decals or reflective stickers that are made to safely customize the look of your tires without compromising on safety or performance.
Can you use car paint on a bicycle?
Yes, you can use car paint on a bicycle. Car paint is designed to adhere to metal surfaces and withstand harsh conditions, which makes it suitable for a bicycle frame. It’s known for its durability, resistance to the elements, and the range of colors and finishes available.
However, applying car paint correctly involves proper surface preparation, including cleaning, sanding, and possibly applying a primer specific to the type of car paint you are using. For the best results, it’s also recommended to finish with a clear coat to protect the paint job and add gloss.
Always ensure that you paint in a well-ventilated area and use appropriate safety equipment, such as masks and gloves, to protect yourself from fumes and chemicals.
Is it easy to paint a bicycle frame?
Painting a bicycle frame can be considered a moderately easy task, especially if you are handy and have experience with similar DIY projects. The difficulty level largely depends on the level of detail and perfection you aim to achieve.
For a basic repaint, the process involves cleaning, sanding, priming, painting, and sealing the frame, which is straightforward if you follow the steps carefully and take your time.
However, the task can be more challenging if the frame has intricate designs or if you want a professional, high-quality finish. In such cases, it might require more advanced techniques, such as using a spray booth or specialized tools.
For someone with patience and a willingness to learn, painting a bicycle frame can be a satisfying project. It’s important to do thorough research, gather all the necessary materials, and work carefully to ensure a successful outcome.
Always prioritize safety by working in a well-ventilated area and wearing protective gear.
Conclusion
Painting your bike rims is a cool way to customize your ride and keep it looking sharp. It’s not just about style – a good paint job also protects your rims from weather and wear. By carefully following each step, you can make your rims look amazing, just like a pro did it.
Remember to take it slow, watch every detail, and let the paint dry well. This project is more than upkeep; it’s your chance to make your bike truly yours.
So, have fun and be patient. In the end, you’ll have a bike that doesn’t just ride great but also shows off your unique style. That’s our guide on painting bike rims for you.

How to Carry Bike on A Scooter?
The swift agility of a scooter with the pedal-powered pleasure of a bike isn’t just…
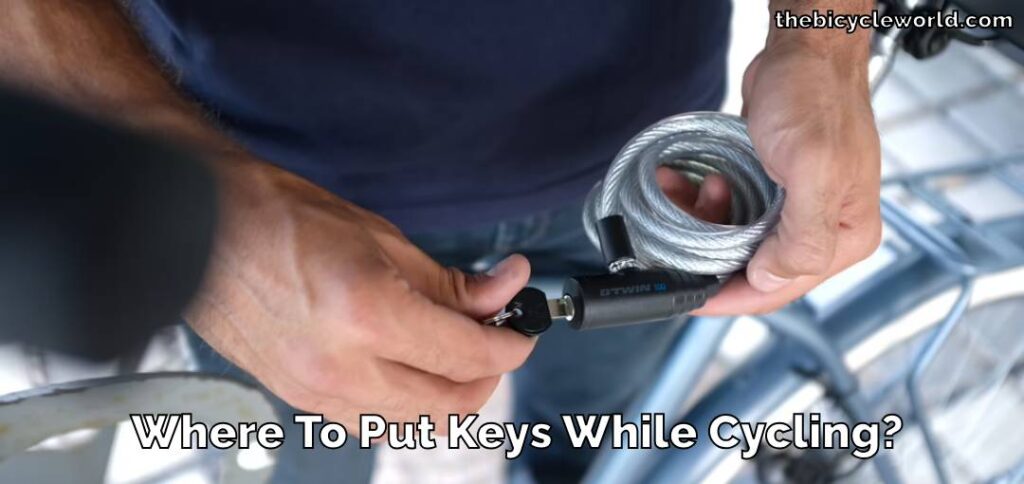
Where To Put Keys While Cycling?
Hey there, cyclists! Keys might seem like a simple thing, but listen up – keeping…

How to Lock Multiple Bikes Together?
Heading out with friends or family for a bike ride? Great idea! But let’s not…
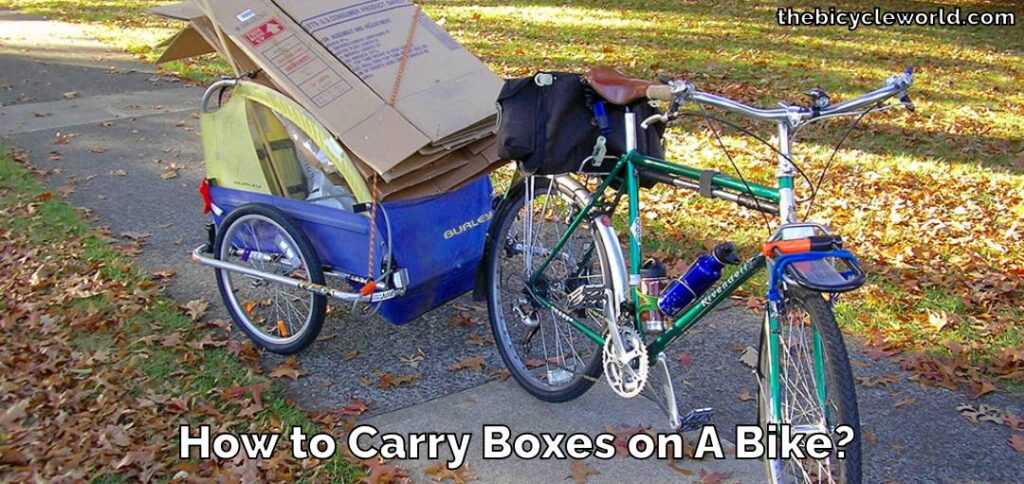
How to Carry Boxes on A Bike?
Choosing your bike over a car is kind to the earth because you’re not causing…

How to Carry Musical Instruments on A Bike?
On a venture where the harmony of biking intertwines with the rhythm of music, I…
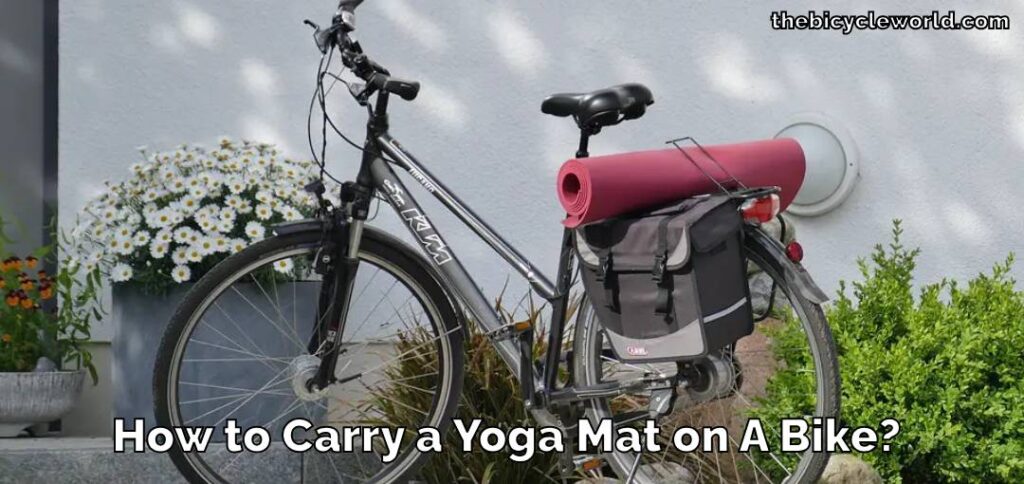
How to Carry a Yoga Mat on A Bike?
Mixing cycling with yoga offers a unique blend of benefits, including a heart-healthy warm-up from…