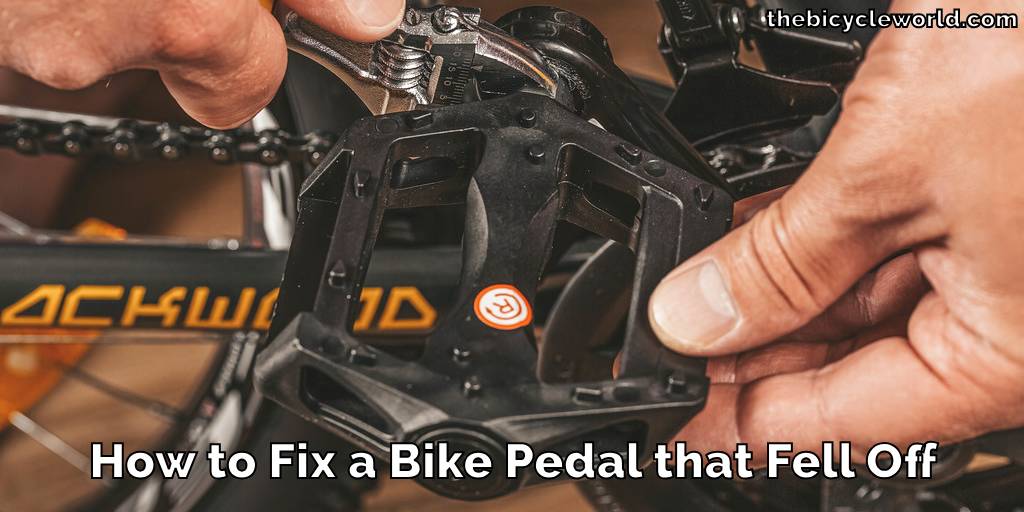
How to Fix a Bike Pedal that Fell Off
Introduction
Encountering a bike pedal falling off mid-ride isn’t just a nuisance it’s a safety concern and a disruption to your cycling routine. Often overlooked in regular bike maintenance, this common issue is critical for a smooth, safe riding experience.
This guide provides a straightforward approach to how to fix a bike pedal that fell off. We’ll look into why pedals fall off, how to address them promptly, and preventative measures for future rides. Understanding the basics of pedal attachment and maintenance is essential for every cyclist.
With this guide, you’ll gain the necessary knowledge to tackle pedal problems, enhancing your cycling safety and enjoyment. Remember, attending to small details like pedal maintenance can significantly impact your overall biking experience.
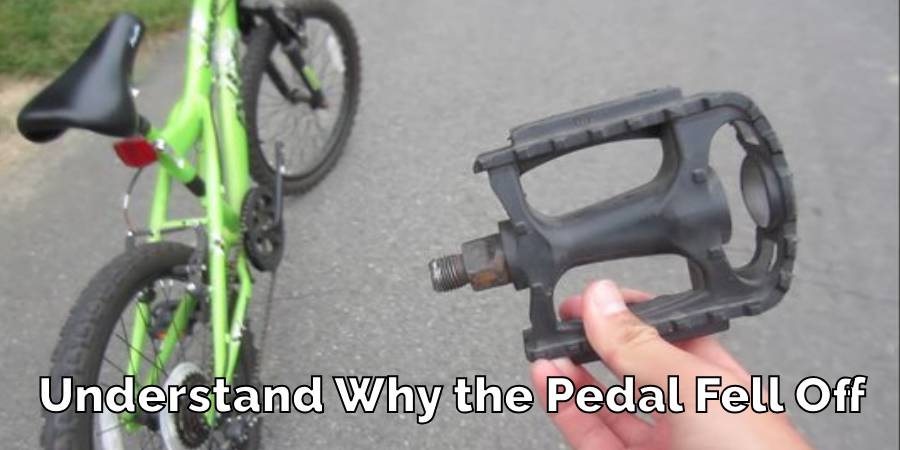
Understanding Why Bike Pedals Fall Off
The connection between the pedal and the crank arm is vital for a bicycle’s function. When it fails, the pedal can fall off, causing disruptions and potential accidents. Common causes include thread damage during installation, misalignment, and inadequate tightening.

Crank arm condition matters too damaged or worn arms compromise stability, requiring replacement. Regular inspections for wear, cracks, bending, and corrosion are crucial. Understanding these issues aids bike maintenance, promoting safe and enjoyable rides.
Proactive steps like proper installation and routine checks prevent problems, ensuring a worry-free cycling experience. Consistent maintenance keeps your bike in good condition, enhancing safety and enjoyment.
Identifying Your Pedal and Crank Arm Type
When it comes to bike maintenance, one key aspect often overlooked is knowing the type of pedals and crank arms your bike uses.
This knowledge is not just for bike enthusiasts but is essential for anyone who rides. Different bikes have different types of pedals and crank arms, each designed for specific needs. Understanding these differences is crucial for proper bike repair and maintenance.
Different Types of Pedals and Crank Arms:
Bicycles are equipped with various types of pedals and crank arms, each part to specific riding needs. Knowing the exact type of pedal and crank arm your bike has is crucial for proper maintenance and precise repairs. This becomes particularly important when you need to replace or repair a pedal.
Pedal Thread Sizes and Crank Arm Designs:
- Different bikes use different pedal thread sizes and crank arm designs, which must match correctly for a secure fit. For example, standard road bikes often have a different pedal thread size compared to mountain or BMX bikes. Here are some
Common types and their respective thread sizes:
- Standard Road Bike Pedals: Generally use a 9/16 inch thread size.
- Mountain Bike Pedals: Also typically use a 9/16 inch thread size.
- BMX Bikes: May use a 1/2 inch thread size, differing from road and mountain bikes.
Identifying Thread Size and Type:
- To determine your bike’s pedal and crank arm type, inspect the pedal spindle. Most pedals have their thread size and type marked near the spindle end. Common sizes are 1/2 inch and 9/16 inch, but variations exist, particularly in older or specialized models.
Unique Threading for Left and Right Pedals:
- It’s important to note that the threading on the left and right pedals differs. The right pedal (drivetrain side) has a regular thread, which tightens clockwise. In contrast, the left pedal has a reverse thread, tightening counterclockwise. This design prevents the pedals from loosening while riding.
Checking for Compatibility:
- Before purchasing new pedals or attempting repairs, ensure that the new components are compatible with your bike’s existing crank arms. Mismatched sizes or threading can lead to improper fitting, which can be unsafe and damage the bike.
Accurate identification of your pedal and crank arm type is a fundamental aspect of bike maintenance. This knowledge not only aids in efficient repairs but also ensures your ride is safe and enjoyable. Regular checks and understanding the specifics of your bike’s components can significantly enhance your overall cycling experience.
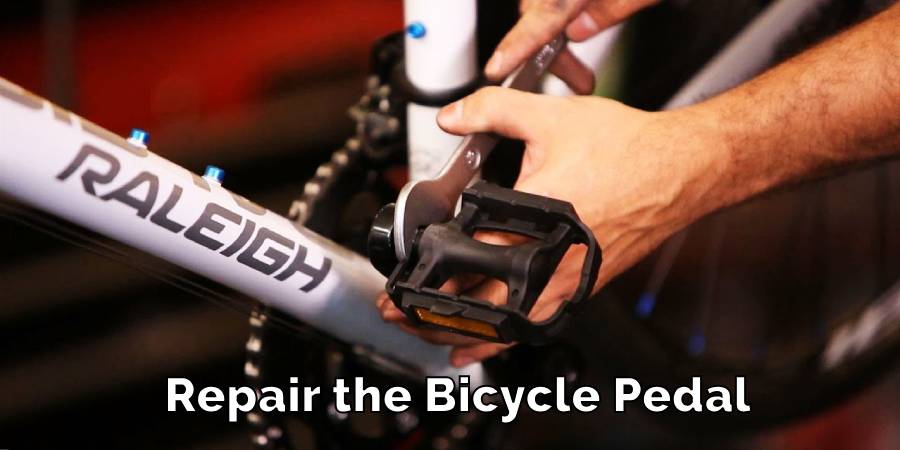
How to Fix a Bike Pedal that Fell Off: 5 Step-by-Step Repair Guide
Fixing a bike pedal that has fallen off is simpler than it seems. This guide provides a straightforward, 5-step approach to quickly get your bike back in shape.
Step 1: Diagnose the Problem
Before starting any repair, it’s crucial to understand why the pedal fell off. Check the pedal and crank arm threads for damage. If the threads are stripped or the crank arm is bent, these parts may need replacement. However, if the pedal is simply unscrewed, you can easily reattach it.
Step 2: Gather Necessary Tools
The tools you’ll need depend on the nature of the problem. Generally, you’ll require:
- A wrench (appropriate size for your pedal)
- A screwdriver (for minor adjustments)
- Replacement parts (if necessary, such as a new pedal or crank arm)
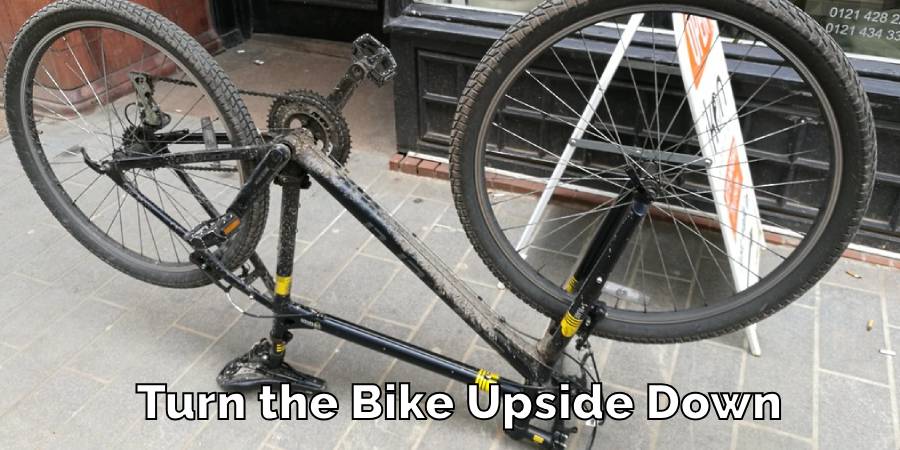
Step 3: Prepare the Bike
Ensure your bike is stable before starting the repair. Use a bike stand if available, or turn the bike upside down, resting it on the seat and handlebars. This position gives you better access to the pedal mechanism.
Step 4: Repair or Replace
If the pedal simply unscrewed, carefully screw it back in, making sure not to cross-thread. For damaged threads or a bent crank arm, replace the necessary parts. When attaching a new pedal, apply grease to the threads to make future removal easier and to prevent corrosion.
Step 5: Test and Fine-Tune
After fixing or replacing the pedal, it’s important to test it. Gently pedal the bike while it’s still in the stand or upside down to ensure the pedal moves smoothly and is securely attached. Make any necessary adjustments.
With these easy steps, fixing a fallen-off bike pedal becomes a quick and manageable task, ensuring your cycling adventures continue safely and smoothly.
How to Choose the Right Replacement Parts
Picking the right replacement parts for your bike is key to a smooth repair process. Whether you’re a casual rider or an avid cyclist, understanding how to select the perfect pedals and crank arms can make a big difference in your biking experience.
- Understand Your Cycling Needs: Your cycling habits dictate the type of pedals and crank arms you need. Road cyclists might lean towards lightweight pedals, while mountain bikers might look for durability.
- Ensure Compatibility: The pedal thread size must match your crank arm. Using incompatible parts can lead to safety risks.
- Material Matters: Look for durable materials like stainless steel or aluminum for long-lasting use.
- Comfort and Preference: Choose between clipless and flat pedals based on what feels right for you.
- Ask for Advice: If you’re not sure, getting tips from bike shops, online communities, or fellow bikers can be really helpful.
Choosing the right replacement parts for your bike doesn’t have to be complicated. By considering your needs, ensuring compatibility, and not being afraid to seek advice, you can make informed choices that enhance your bike’s performance and your overall cycling experience.
Cost Considerations for Repair and Replacement
When it comes to repairing or replacing bike pedals, understanding the costs involved is crucial. This section will help you navigate the expenses, ensuring you make budget-friendly choices without compromising on quality.
- Variety in Pricing: The cost of new pedals and crank arms can vary widely. For example, basic pedals might start around $15, while high-performance models could be $100 or more.
- Crank Arm Costs: Replacement crank arms can range from $20 for basic models to over $100 for specialized or branded ones.
- Repair Kits: A basic repair kit might cost around $30, but more comprehensive sets with specialized tools could go up to $60 or more.
- Budget-Friendly Tips: Consider generic brands or look for sales and discounts. Sometimes, used or refurbished parts can be a cost-effective choice, as long as they are in good condition.
While prices can vary, being aware of the different cost factors helps in making informed decisions. Balancing your budget with the quality of parts ensures your bike stays in great shape without breaking the bank.
Troubleshooting Common Pedal Issues
- Squeaky Pedals: Often, a squeaky pedal just needs lubrication. Apply a bike-specific lubricant to the bearings and pivot points.
- Stiff Pedals: If pedals are hard to turn, it might be due to dirt or rust. Clean and lubricate the pedal bearings to see if this solves the issue.
- Loose Pedals: A pedal that feels wobbly may need tightening. Use a pedal wrench to secure it back onto the crank arm. Be careful not to overtighten, as this can strip the threads.
- Pedal Won’t Clip In/Out: For clipless pedals, difficulty clipping in or out can be due to a build-up of dirt or a need for tension adjustment. Clean the mechanism and adjust the tension screws if necessary.
- Seeking Professional Help: If you’ve tried basic troubleshooting and the problem persists, or if you’re unsure about how to fix an issue, it’s wise to consult a professional bike mechanic. They can provide expert advice and repairs, ensuring your bike remains in optimal condition.
Maintenance Tips for Bike Pedals
- Regular Cleaning: After each ride, especially in muddy or wet conditions, clean your pedals with a damp cloth to remove dirt and grime. This prevents build-up that can cause damage over time.
- Proper Lubrication: Apply a quality lubricant to the pedal threads and moving parts periodically. This reduces friction, prevents squeaking, and protects against rust and corrosion.
- Check for Wear and Tear: Regularly inspect your pedals for signs of wear, such as loose bearings or damaged threads. Early detection of these issues can save you from costly repairs or replacements in the future.
- Tightening and Adjustments: Occasionally check the tightness of the pedal on the crank arm. A loose pedal can lead to thread damage and may eventually fall off.
- Storage Tips: Store your bike in a dry, sheltered area to prevent moisture-related damage to the pedals and other components.
Conclusion
Taking care of your bike pedals is a simple yet essential part of being a responsible cyclist. By understanding how to prevent common issues, choosing the right replacement parts, and maintaining your pedals, you not only ensure a smoother and safer ride but also save money in the long run.
Remember that regular maintenance and a bit of troubleshooting can go a long way in extending the life of your pedals. This article has explored how to fix a bike pedal that fell off.
Whether you’re a beginner or an experienced cyclist, these practical tips will help you enjoy your biking adventures to the fullest. So, keep those pedals spinning, and may your rides be filled with joy and excitement.