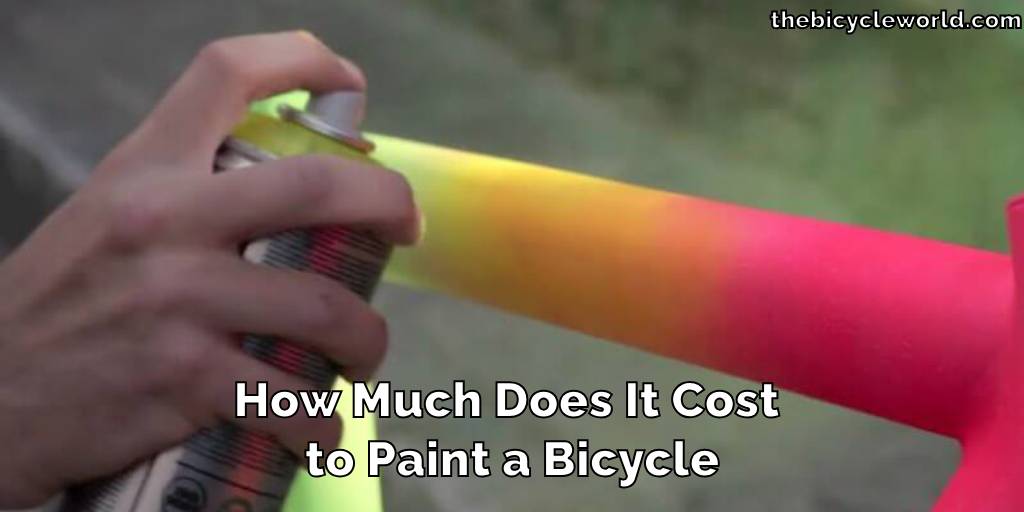
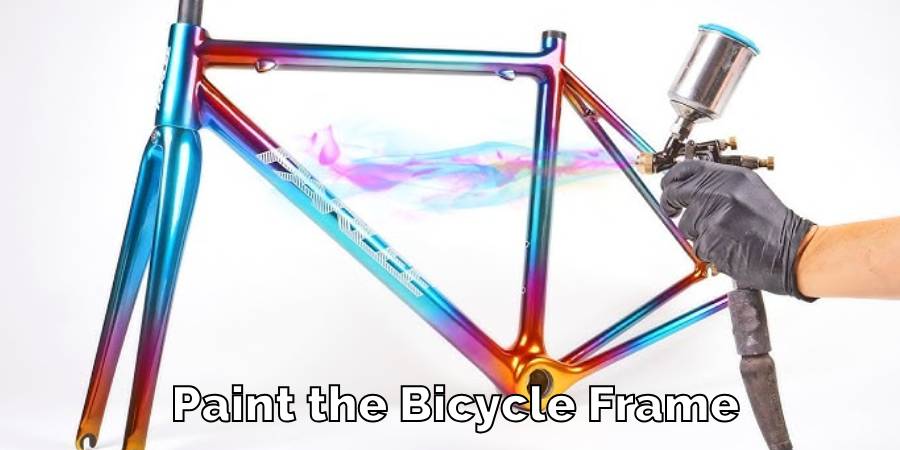
How Much Does It Cost to Paint a Bicycle
Painting a bicycle is more than just adding a new color; it’s about bringing an old bicycle back to life or making a new one truly reflect who you are. It’s not only a style choice but also a smart way to protect your bicycle from rust and wear.
For cycling enthusiasts, choosing to paint their bicycles is a fun way to express themselves. You can go for bright colors, unique designs, or patterns that showcase your personality. Whether you’re giving a facelift to an old friend or customizing a new ride, repainting your bicycle is both enjoyable and rewarding.
In this guide, we’ll explore “How Much Does It Cost to Paint a Bicycle“ and the costs involved in painting a bicycle, whether you decide to DIY or hire someone to do it for you.
We’ll list the tools you’ll need and guide you through the painting process to ensure your bicycle not only looks fantastic but is protected too. Let’s dive into making your bicycle transformation affordable and straightforward.
Why You Need to Paint a Bicycle
Deciding to paint a bicycle goes beyond simply changing its color it’s a crucial step in maintaining the bicycle’s health and increasing its lifespan. The right coat of paint does more than just make your bicycle look good—it serves as a protective barrier, keeping rust and other damaging elements at bay.
For those passionate about cycling, it’s also a chance to make their mark, turning a standard bicycle into a reflection of their own tastes and styles. The choices are vast, with options ranging from sleek racing stripes to cool, sophisticated matte finishes that make the bicycle stand out in a crowd.
It’s not just about beauty it’s a practical move that helps to maintain the bicycle’s structure and ensure that it holds its worth over time. By painting your bicycle, you’re taking an active role in its upkeep and ensuring that it remains a trusty companion on all your rides, whether they’re to the corner store or across the country.
How Much Does It Cost to Paint a Bicycle
Painting a bicycle yourself or getting it done professionally can vary in cost, so here’s a breakdown to help you budget:
DIY Painting
Going the DIY route can be more wallet-friendly. You might spend around $20 to $100. This estimate includes the basics like spray paint cans, primer, and a clear coat for protection. If you don’t have things like sandpaper, masking tape, or maybe even a spray gun, you might need to spend a bit more to get those tools.
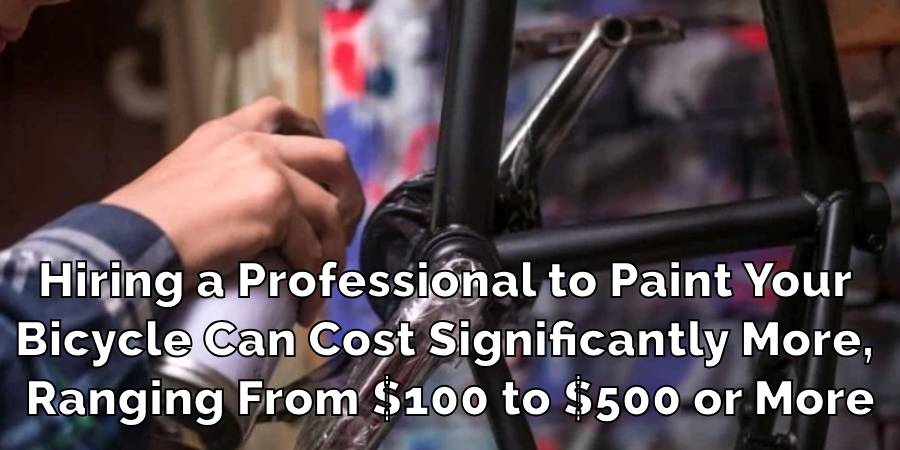
Professional Painting
If you decide to have a professional take on the job, the cost jumps up to between $100 and $500, or sometimes even more. This price generally covers the works: sandblasting to prep the bicycle, a good primer layer, the base coat, and the final topcoat.
A big part of this cost is for the labor. If you want something extra, like custom designs or fancy finishes (think metallic or pearlescent paints), you’re looking at a higher price tag.
Example Costs
- Basic DIY Job: Buying three cans of spray paint ($6 each), primer ($10), and clear coat ($8) could total around $36, plus any extra tools you might need.
- Mid-range Professional Job: A simple professional job might cost around $200, including a basic single color and required prep work.
- High-end Professional Job: For custom designs or special finishes, the cost can easily exceed $300, depending on the complexity and the types of paint used.
Additional Costs
Keep in mind, that if your bicycle needs a lot of prep due to rust or if you’re eyeing a special kind of paint (like one with UV protection), the costs can increase. It’s always smart to ask for a detailed quote if you’re going the professional route, to avoid any surprises.
These are ballpark figures, and costs can vary based on where you live and the specific professionals or shops you choose. Getting several quotes is a good strategy to find the best deal for painting your bicycle.
Tools Needed to Paint a Bicycle
When it comes to painting a bicycle, the right set of tools can make all the difference in ensuring a job well done. Here’s a detailed list with key items highlighted in bold:
- Sandpaper: You’ll need a selection of sandpaper with different grit levels. Start with a coarser grit to remove the old paint and rust, and then use finer grit to smooth out the surface before painting.
- Wrench Set: A good set of wrenches is essential for disassembling your bicycle. You’ll want to remove parts like the wheels, handlebars, and seat to paint the frame without obstruction.
- Paint Sprayer or Brushes: A paint sprayer can give you a more even coat and professional finish. If you prefer or if you’re adding detailed designs, various sizes of brushes may be needed.
- Safety Equipment: Safety should always come first. Wear a mask to protect against fumes, especially if you’re working with spray paint. Gloves will keep the paint off your hands, and safety goggles will protect your eyes from any splatters.
- BicycleStand: If possible, use a bicycle stand to hold your bicycle steady while you work. This allows for easy rotation and access to all parts of the frame.
- Masking Tape: Use masking tape to cover the parts of your bicycle that you don’t want to paint, such as the chain or any cabling.
- Drop Cloths or Newspapers: Protect your floor or work area from spills and overspray with drop cloths or old newspapers.
- Primer: Before the color coats go on, a good primer will ensure better paint adhesion and a more durable finish.
- Paint: Choose a paint that is suitable for metal surfaces and intended for outdoor use. The amount will vary depending on the size of your bicycle and the number of coats you plan to apply.
- Clear Coat: After the paint has dried, a clear coat will protect your paint job from scratches and the weather.
- Cleaning Solvent: This is used for cleaning the frame before painting and for any clean-up of spills or drips.
Having these tools at the ready will not only make the painting process smoother but will also contribute to a more professional-looking outcome.
Remember, preparation is just as important as the painting itself, so take the time to set up your workspace and gather all the necessary materials before you begin.
How to Paint a Bicycle
Here’s a step-by-step guide to painting your bicycle for a fresh, professional-looking finish:
Step 1: Disassemble Your Bicycle
Remove all the parts you can, like the wheels, seat, and handlebars. This allows you to paint the frame evenly without interference.

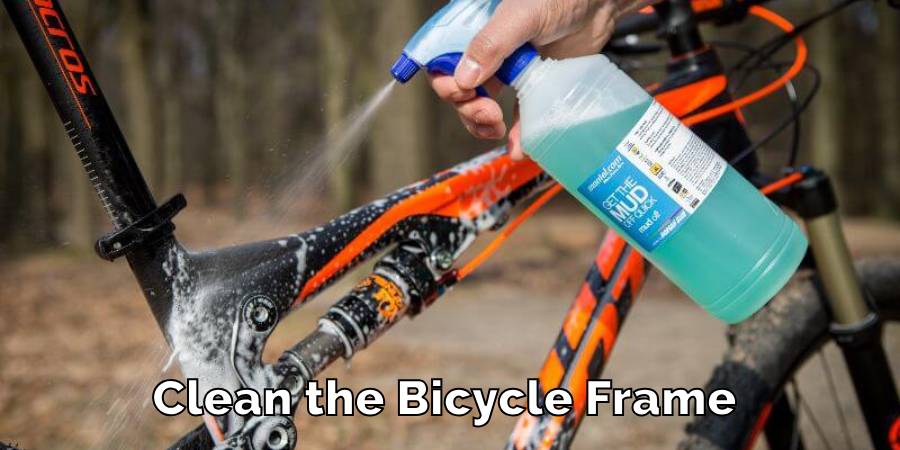
Step 2: Clean the Frame
Thoroughly wash the frame to remove any dirt, grease, or debris. A clean surface ensures that the paint will adhere properly.
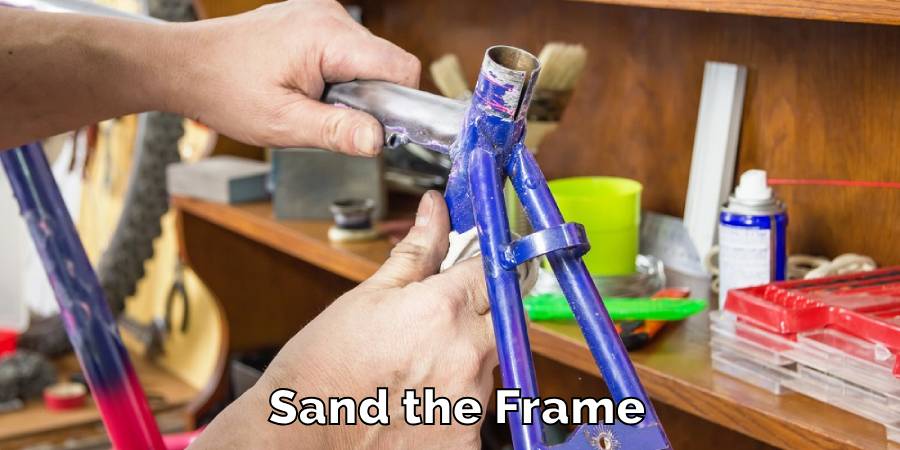
Step 3: Sand the Frame
Start with coarse-grit sandpaper to strip away old paint and finish with fine-grit paper to smooth the surface. Sanding helps the primer and paint stick better.
Step 4: Wipe Down the Frame
Use a cloth and a little bit of rubbing alcohol to wipe down the frame after sanding. This step removes any residual dust.

Step 5: Apply Primer
Spray or brush on a layer of primer. This undercoat helps to even out the surface and increases paint durability.
Step 6: Sand the Primer
Once the primer is dry, lightly sand it with fine-grit sandpaper to create a perfectly smooth base for your paint.
Step 7: Paint the Frame
Apply the paint in several thin layers, whether you’re using spray cans or an airbrush. Let each layer dry before adding the next to avoid drips.
Step 8: Apply Clear Coat
After the final layer of paint is dry, apply a clear coat. This seals the paint, adds shine, and protects your bicycle from scratches and weather.
Step 9: Reassemble Your Bicycle
Once the clear coat is completely dry, put all the parts back together. Now your bicycle is ready to ride, with a brand-new look!
Remember to always paint in a well-ventilated area and wear protective gear like masks and gloves to safeguard your health. Take your time with each step to ensure the best results.
Precautions While Painting a Bicycle
When painting your bicycle, safety comes first. Make sure you’re in a spot where air can move freely, like outside or in a room with open windows, to keep strong paint smells away. Protect yourself by wearing a mask, gloves, and eye protection. Always check the paint can’s directions to use the paint correctly and safely.
After you’re done, remember to throw away any leftover paint and cleaning supplies the right way. Most places have special rules for getting rid of these things to protect nature. Follow them to keep our planet clean. With these simple steps, you can paint your bicycle safely and have fun doing it.
FAQs
Can a bicycle be repainted?
Yes, you can certainly repaint a bicycle. It’s a fantastic way to refresh an older bicycle or add a personal touch to a new one. More than just for appeal, a new coat of paint can act as a shield against rust and the harsh effects of weather, keeping your bicycle in good shape for longer.
What type of paint is used on bicycles?
Typically, bicycles are coated with acrylic or enamel paint. These paints are tough and can withstand the rigors of outdoor use, which is crucial for something that’s exposed to various elements. For those who prefer to do it themselves, metal-specific spray paints are readily available and easy to use. For adding finer details or more intricate designs, an airbrush might be the tool of choice.
How much does it cost to spray paint a bicycle?
If you decide to spray paint your bicycle on your own, the costs could range from $20 to $100, based on the quality of paint and equipment you choose. For those looking for a professional finish, the costs may increase to anywhere from $100 to over $500, influenced by the complexity of your desired design and the types of paint and finishes used.
How much paint do I need for a bicycle?
For painting the entire frame and fork, you’ll generally need around two to three 12-ounce cans of spray paint for the base coats, plus one additional can for the clear coat to protect your paintwork. If you’re opting for an airbrush, the quantity might be lesser. It’s wise to consult with a paint specialist to determine the exact amount you’ll need for your project.
Can a bicycle be repainted?
Indeed, a bicycle can be repainted multiple times. Whether you’re looking to update a faded color or just want to switch up the look, repainting is a viable option. Proper preparation and technique are key to ensuring a smooth and lasting finish, allowing you to enjoy a repainted bicycle that looks as good as new.
Conclusion
Painting your bicycle serves both protective and personal purposes. It’s a way to guard against damage while making your ride uniquely yours. We’ve discussed the costs of doing it yourself versus professional painting.
No matter which route you choose, the key is to use the right tools, follow safety guidelines, and be meticulous. The outcome is a bicycle that looks great and reflects your style. This project not only enhances your bicycle but also provides a sense of achievement. So, get ready, be creative, and enjoy a bicycle that truly represents you.

How to Carry Bike on A Scooter?
The swift agility of a scooter with the pedal-powered pleasure of a bike isn’t just…
Where To Put Keys While Cycling?
Hey there, cyclists! Keys might seem like a simple thing, but listen up – keeping…

How to Lock Multiple Bikes Together?
Heading out with friends or family for a bike ride? Great idea! But let’s not…
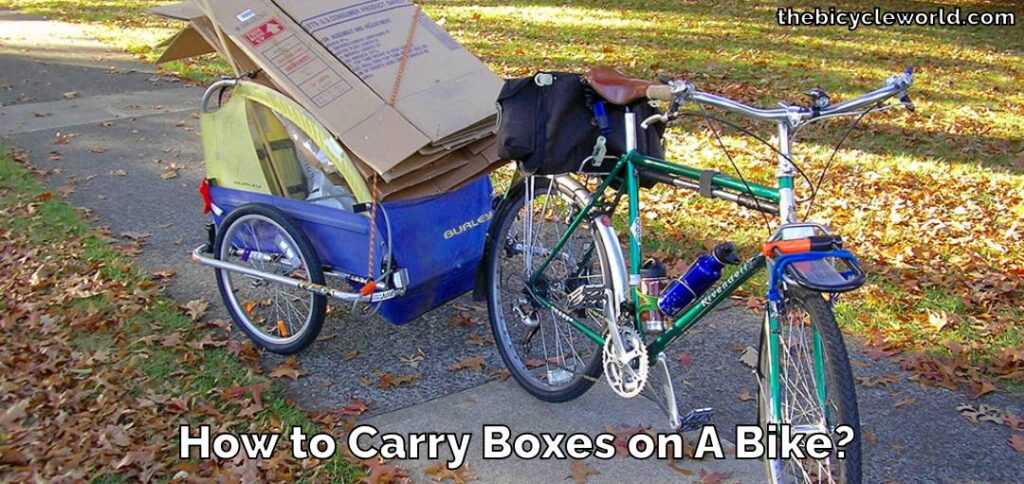
How to Carry Boxes on A Bike?
Choosing your bike over a car is kind to the earth because you’re not causing…

How to Carry Musical Instruments on A Bike?
On a venture where the harmony of biking intertwines with the rhythm of music, I…
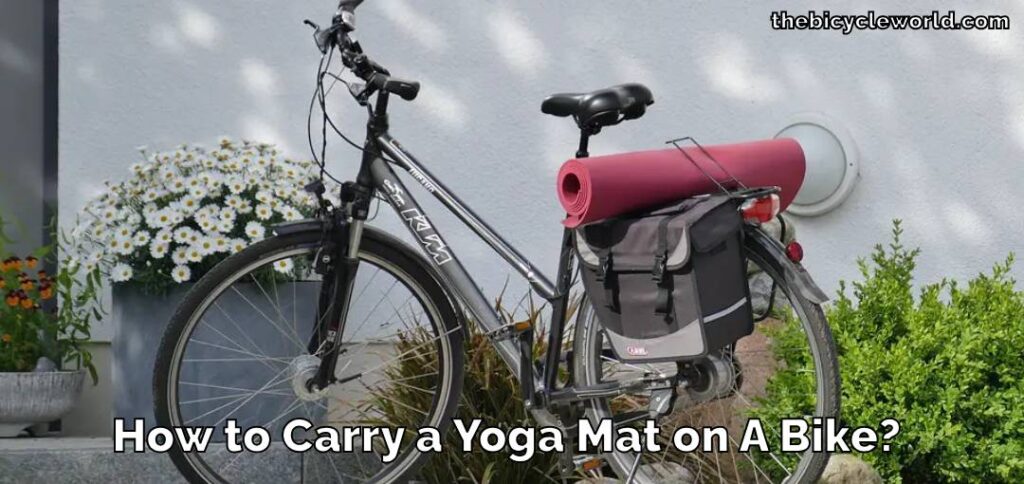
How to Carry a Yoga Mat on A Bike?
Mixing cycling with yoga offers a unique blend of benefits, including a heart-healthy warm-up from…