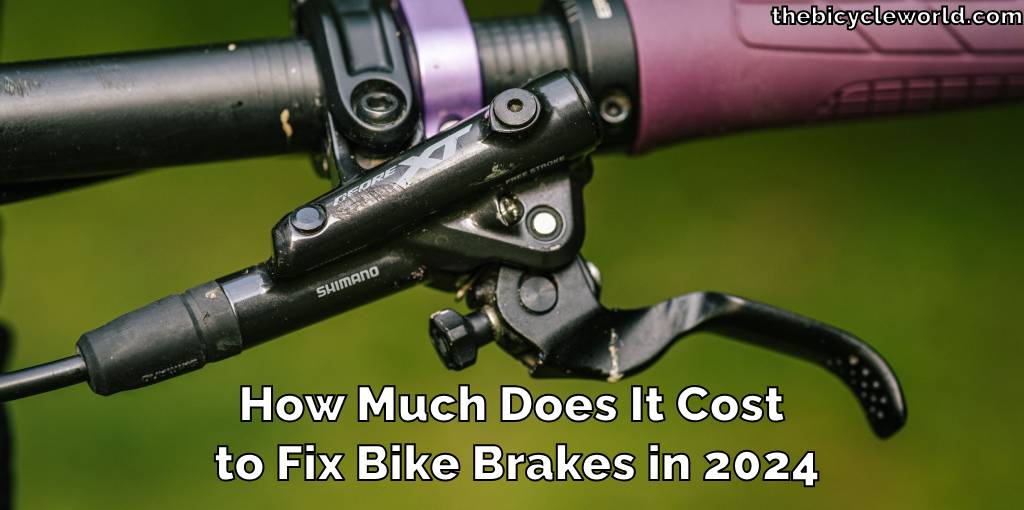
How Much Does It Cost to Fix Bike Brakes in 2024
Introduction
How much does it cost to fix bike brakes in 2024 a clear grasp of the expenses involved in repairing bike brakes is essential for cyclists. The surge in biking as a preferred means of travel and leisure underscores the importance of consistent brake maintenance. This detailed guide offers insights into various brake types, their respective repair costs, and practical maintenance tips.
Its aim is to equip you with the necessary knowledge to budget effectively for brake repairs. The guide also highlights the significance of understanding the different brake systems and their maintenance requirements, which can vary significantly in complexity and cost.
This foundational knowledge is vital for cyclists looking to maintain their bikes’ safety and performance while managing expenses wisely.
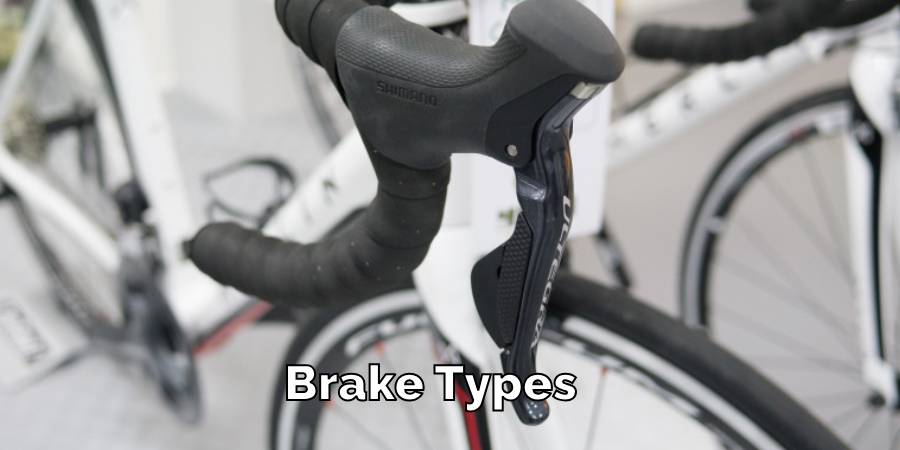
Types of Bike Brakes
When it comes to safe cycling, choosing the right type of brake is as important as the bike itself. Different brakes offer varied strengths and suit different cycling styles and conditions. Here’s a breakdown of the common types of bike brakes:
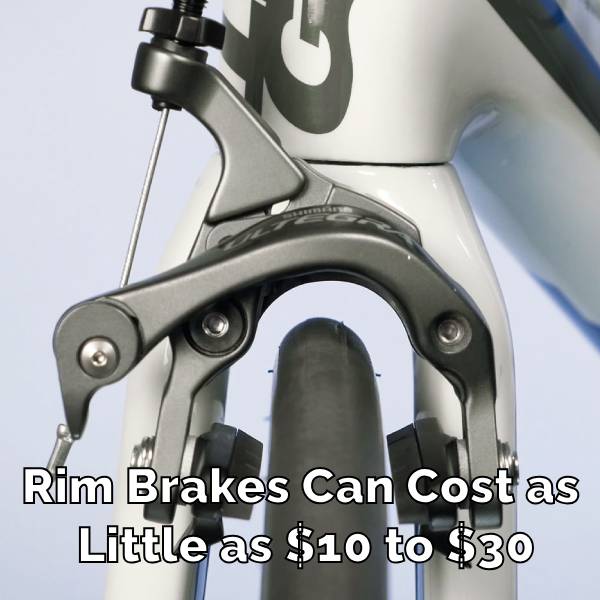
Rim Brakes
Caliper Brakes
- Feature a single anchor point.
- Commonly used on road bikes.
- Known for straightforward design and maintenance.
Cantilever Brakes
- Have two separate arms for braking.
- Offer more power, ideal for cyclocross bikes.
- Simple maintenance requirements.
V-Brakes
- Provide direct force, making them efficient.
- Frequently found on mountain bikes and some hybrid models.
- Easy to maintain and adjust.
Disc Brakes
Mechanical Disc Brakes
- Operate through a cable system.
- Simpler and often more affordable than hydraulic systems.
- Suitable for a wide range of bikes, including entry-level mountain and road bikes.
Hydraulic Disc Brakes
- Use fluid to transfer braking force.
- Offer consistent and powerful braking in various conditions.
- Preferred in modern mountain bikes and high-performance road bikes.
- Require more specialized maintenance.
Understanding these types of bike brakes and their specific maintenance needs is crucial for estimating repair costs. The type of brake system you choose will influence both your bike’s performance and the ongoing cost of upkeep.
Understanding Brake Parts and Their Costs
When maintaining your bike’s brakes, it’s crucial to know about the different parts and their costs. Here’s a detailed look at the common components of bike brake systems:
Brake Pads
- Function: Essential for creating the friction needed to stop the bike.
- Lifespan: Typically need replacement every few months to a year, depending on usage.
- Cost: Prices range from $10 to $30, varying with brake type and quality.
Rotors (For Disc Brakes)
- Function: The surface against which brake pads press to stop the bike.
- Lifespan: Can last several years, but depends on riding conditions and brake pad material.
- Cost: Generally between $20 and $70 each, depending on size and material.
Cables (For Mechanical Brakes)
- Function: Connect brake levers to the braking mechanism.
- Lifespan: Require replacement every 1-2 years or when frayed or damaged.
- Cost: Usually around $5 to $15, depending on quality and type.
Calipers
- Function: The mechanism that pushes the brake pads against the rotors or rim.
- Lifespan: Can last many years but may need servicing or replacing due to wear or damage.
- Cost: Ranges from $20 for basic models to over $100 for high-end versions.
Remember, these costs are estimates and can vary based on your location, the brand, and whether you opt for standard or high-performance components. Regular check-ups and timely replacements can help avoid more costly repairs down the line.
How Much Does It Cost to Fix Bike Brakes in 2024
The cost of fixing bike brakes in 2024 varies, depending on several factors. Here’s a detailed breakdown:
Brake Type
Rim Brakes: Simple adjustments or pad replacements can cost between $10 to $20.
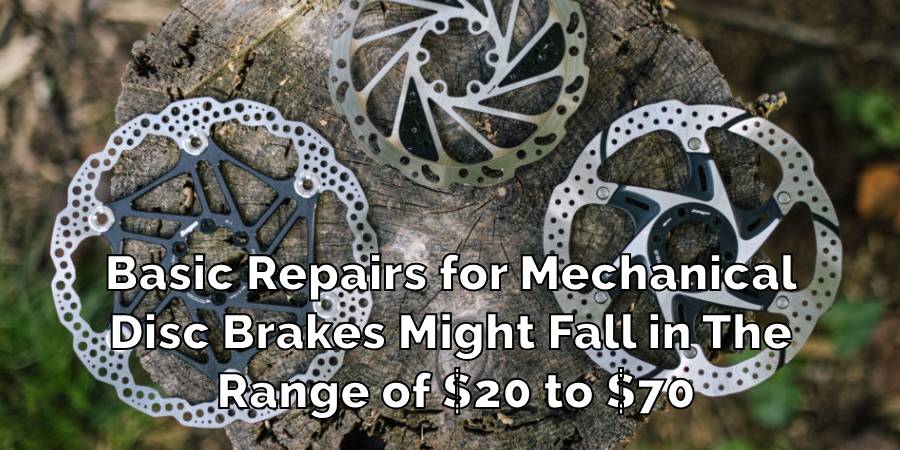
Mechanical Disc Brakes: Basic repairs might range from $20 to $40.
Hydraulic Disc Brakes: More complex repairs, including fluid replacement or part overhauls, can range from $50 to $150 or more.
Damage Extent
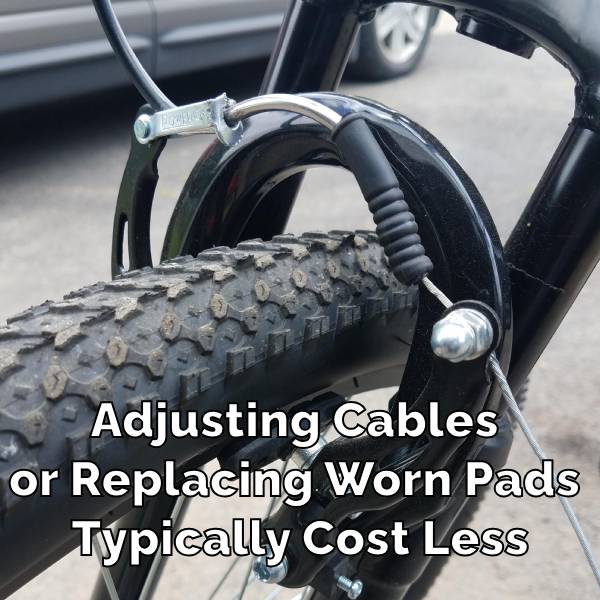
Minor Repairs: Adjusting cables or replacing worn pads typically cost less, averaging around $10 to $30.
Major Repairs: Fixing or replacing damaged rotors, calipers, or a complete brake system overhaul can escalate costs from $50 to $200 or more, depending on the severity.
Part Quality
Budget-Friendly Parts: Lower cost but may have shorter lifespans, ranging from $10 to $50.
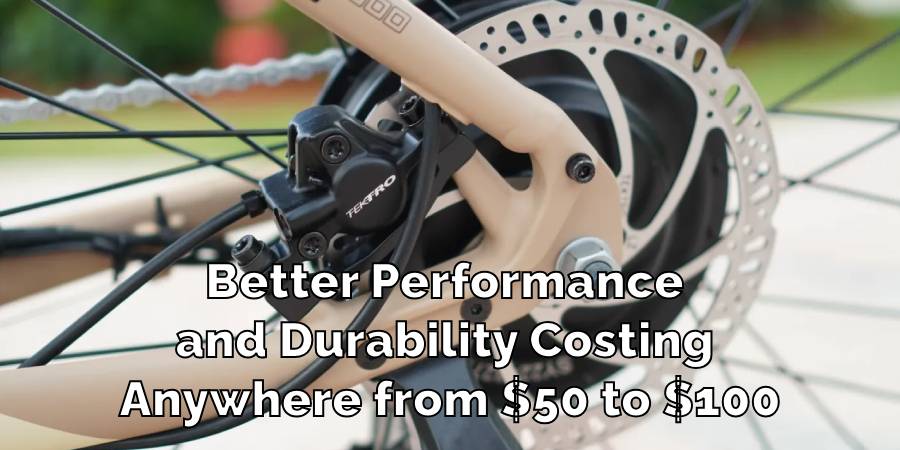
High-End Parts: Offer better performance and durability, costing anywhere from $50 to $100 or more for premium components.
Labor Costs
Varies based on the bike shop and location, typically adding $20 to $50 to the overall cost, depending on the complexity of the repair job.
Additional Factors
Prices can also be influenced by regional cost differences, the availability of parts, and the specific model of your bike.
In 2024, a cyclist can expect to pay anywhere from a modest amount for basic brake maintenance to a more significant cost for extensive repairs, especially for high-end brake systems. It’s important to factor in both the parts and labor costs when budgeting for brake repairs. Regular maintenance can help in reducing the need for costly repairs.
Average Costs for Different Types of Brakes
When it comes to fixing your bike’s brakes, it’s important to know that the average costs can vary significantly based on the type of brakes you have. Let’s break it down:
Rim Brakes
- Cost Range: Repairs for rim brakes are generally more budget-friendly.
- Average Cost: Simple adjustments or pad replacements for rim brakes can cost as little as $10 to $30.
- Reason: Rim brakes have simpler mechanics, and their parts are usually more affordable.
Disc Brakes
- Cost Variation: Repairs for disc brakes, especially hydraulic systems, tend to be on the higher side.
- Average Cost: Basic repairs for mechanical disc brakes might fall in the range of $20 to $70.
- Hydraulic Complexity: Hydraulic disc brakes, due to their complexity, can require more costly repairs, often ranging from $50 to $150 or more.
- Part Prices: The price of disc brake parts, including rotors and calipers, can contribute to the overall cost.
Labor Costs
- Additional Cost: Don’t forget to consider labor charges, which can add $20 to $50 or more to the final bill. Labor costs can vary depending on the bike shop and location.
Consider Your Budget
- Budget-Friendly Option: If you’re on a tight budget, rim brakes might be a more economical choice, both in terms of parts and labor.
- Performance vs. Cost: While disc brakes offer superior stopping power, they can come with higher repair expenses. Consider your riding needs and budget when choosing brake types.
Understanding these cost differences can help you make informed decisions about your bike’s maintenance and repair expenses, ensuring both safety and financial prudence.
Cost Comparison: 2024 vs. Previous Years
When it comes to fixing your bike brakes, you have two main options: doing it yourself or seeking the expertise of a professional. You should consider to make the right choice.
DIY Brake Repair
- Affordability: Doing basic maintenance tasks like adjusting cables or replacing pads can be budget-friendly, costing as little as $10 to $30.
- Skill Level: DIY repairs require some mechanical aptitude, but online tutorials and guidance can help.
- Tools: You’ll need basic tools like wrenches and Allen keys, which you may already own.
Professional Brake Repair
- Complex Repairs: For more complex issues or if you’re unsure about your skills, seeking professional help is advisable.
- Cost: Professional brake repair can range from $50 to $150 or more, depending on the extent of the repair and parts required.
- Expertise: Bike shop technicians have the knowledge and experience to diagnose and fix intricate brake problems.
Balancing Act
- Consider Complexity: Evaluate the complexity of the repair needed and your own skills before deciding.
- Time: DIY repairs may take longer, so consider how much time you can dedicate to the task.
- Safety: Ensuring your bike is safe to ride is paramount, so don’t hesitate to seek professional assistance for critical repairs.
Final Thoughts
- Know Your Limits: If you’re confident in your skills and it’s a simple task, DIY can save you money.
- When in Doubt, Go Pro: For complex issues or when unsure, consulting a professional ensures your safety and the longevity of your bike.
Whether you choose DIY or professional repair, the key is to make sure your bike’s brakes are in top condition for a safe and enjoyable ride.
DIY vs. Professional Repair
When you’re faced with the decision of whether to do it yourself or seek professional help for fixing your bike brakes, it’s like finding the right balance between your skills, the time you have, and the money you want to spend. Let’s dive a bit deeper into this choice:
DIY Brake Repair
- Saving Money: Doing it yourself can save you some cash, which is always nice.
- Skill Level: Keep in mind that DIY repairs require a certain level of know-how. If you’re handy with tools and can follow instructions, you’re off to a good start.
- Tools: You’ll need some basic tools like wrenches and Allen keys, but you might already have them lying around.
Professional Brake Repair
- Expert Hands: When it comes to more complex brake issues or if you’re not quite sure what you’re doing, a pro can be a lifesaver.
- Cost Factor: It’s true that professional help can be pricier, with costs ranging from $50 to $150 or more, depending on the job.
- Peace of Mind: One big advantage of going pro is the peace of mind knowing that someone with expertise is taking care of your brakes, often with service warranties to back it up.
Finding the Balance
- Consider Complexity: Think about how complicated the repair is. If it’s a straightforward adjustment or pad replacement, DIY might be the way to go.
- Time Matters: DIY repairs can take more time, so weigh that against your schedule.
- Safety First: Above all, prioritize safety. If you’re uncertain or dealing with a crucial repair, don’t hesitate to seek professional assistance.
- Know Your Limits: Confidence in your skills and the simplicity of the task can make DIY a smart choice.
- When in Doubt, Go Pro: For complex or uncertain situations, relying on a professional ensures your safety and the longevity of your bike.
Ultimately, the choice between DIY and professional repair is about finding the best solution for your unique situation. Whatever you decide, make sure your bike’s brakes are in good working order for a safe and enjoyable ride.
Maintenance Tips to Prolong Brake Life
Taking good care of your bike brakes through regular maintenance can make them last longer and save you money on repairs. Here are some practical tips to help you keep your brakes in top shape:
Keep Them Clean
- Why: Dirt and grime can wear down brake parts faster.
- What to Do: Regularly wipe your brake surfaces and keep them free from debris. Use a gentle brush or cloth to clean the brake pads.
Timely Pad Replacements
- Why: Brake pads wear out over time and lose effectiveness.
- What to Do: Check your brake pads regularly. When they start to look thin or worn, replace them promptly. New brake pads can cost around $10 to $30.
Avoid Harsh Conditions
- Why: Riding in tough conditions like heavy rain or muddy trails can accelerate brake wear.
- What to Do: If possible, avoid extreme weather and rough terrains. If you can’t, clean and inspect your brakes more often.
Professional Check-Ups
- Why: A professional bike check-up can catch minor issues before they become expensive problems.
- What to Do: Schedule periodic check-ups with a bike shop. This preventive measure can save you from major repair bills.
Brake Fluid (For Hydraulic Brakes)
- Why: Hydraulic brake systems use fluid that can degrade over time.
- What to Do: Follow the manufacturer’s recommendations for fluid replacement. Ignoring this can lead to costly repairs.
Riding Technique
- Why: Using your brakes excessively or dragging them can wear them out faster.
- What to Do: Practice smooth braking and use both brakes evenly when stopping.
Check for Wear Signs
- Why: Certain signs like squealing or reduced stopping power can indicate brake issues.
- What to Do: Pay attention to these signs and address them promptly.
By following these straightforward maintenance tips, you can extend the life of your bike brakes and avoid unnecessary repair expenses. Remember, a well-maintained bike is a safer and more cost-effective one.
FAQ’s
Do Brakes Last 3 Years?
Bike brakes typically have a lifespan that can stretch up to 3 years, but it’s not set in stone. It really depends on two things: how much you ride and how well you look after your brakes.
- Riding Frequency: If you’re someone who pedals their bike regularly, the parts that make your brakes work might wear out faster. Think of it like how your favorite sneakers wear out quicker if you use them every day.
- Maintenance Matters: The way you care for your brakes plays a big role too. Just like you need a check-up with the doctor from time to time, your bike brakes need attention too. Regular inspections and small fixes can help them last longer.
So, while some folks might get a solid 3 years out of their brakes, others who ride a lot might need to swap out parts more often to make sure everything stops as it should. It’s all about keeping your rides safe and smooth!
How Long Will 1 Mm of Brakes Last?
When your brake pads wear down to a thickness of just 1 mm, it’s like a warning light on your car dashboard. It means they’re getting super thin and it’s time to think about replacing them. But how long can you squeeze out of that last millimeter? Well, that depends on how much you use your brakes.
Here’s a simple breakdown:
- If you’re a pretty casual rider and don’t hit the brakes hard very often, that 1 mm might last you a few weeks.
- But if you’re on your bike every day and you use your brakes a lot, it might only hang in there for about a month.
So, when you see that 1 mm mark, start planning to get some fresh brake pads soon. It’s all about staying safe while you roll!
Do Brakes Expire?
When it comes to bike brakes, they don’t come with a “best before” date like the food in your fridge. But here’s what you need to know: even though they don’t have an expiration date, their bits and pieces can get worn down over time. That’s just how it works.
Now, here’s the important part: you don’t want your brakes to suddenly let you down when you’re cruising along. That’s why regular check-ups are a must. Think of it like taking your bike to the doctor for a quick check. Keeping an eye on your brakes and giving them some love when needed ensures they’re always ready to stop you safely.
So, while they might not expire like milk, they do need your attention to keep rolling smoothly.
Is 4 Mm Brake Pads Ok?
Having brake pads with a thickness of 4 mm is generally a good place to be. It’s like having a decent amount of tread on your car tires – it means you’ve got some stopping power left. But here’s the deal: you need to keep an eye on them.
Here’s why:
- Even though 4 mm is a safe starting point, brake pads wear down over time.
- So, while they’re okay now, they won’t stay that way forever.
- Make it a habit to check your brake pads regularly. When you see them getting thinner, it’s time to think about getting some new ones.
Remember, good brakes mean safe rides, so keep them in tip-top shape.
What Is in Brake Fluid?
Brake fluid is a special kind of liquid that’s like the blood running through your bike’s veins. It’s what makes your brakes work when you squeeze the brake lever. Now, what’s it made of?
- Well, brake fluid is typically made from stuff like glycol-ether or silicone-based compounds. These might sound fancy, but all you need to know is that they’re the secret sauce that helps your brakes do their job.
- It’s super important for hydraulic brake systems, the ones that use fluid to transmit the force from your hand to your brakes.
So, the next time you pull that brake lever and your bike comes to a smooth stop, you can thank the brake fluid for its part in keeping you safe on the road.
Conclusion
As we journey through 2024, it’s clearer than ever that knowing the ins and outs of bike brakes is a must for every cyclist. Whether you’re a DIY enthusiast or prefer professional help, grasping the brake types, their bits and bobs, and how to keep them in top shape can save you money in the long run.
Here’s the deal:
- Regular TLC for your brakes isn’t just about staying safe (though that’s super important), it’s also about keeping your wallet happy.
- Think of it as an investment in your own safety and the endurance of your trusty bike.
So, whether you’re zipping through city streets or conquering mountain trails, remember that a well-maintained brake system is your best buddy for a smooth and secure ride.
Read Also – How to Clean Bicycle Handlebar Grips