How Much Does It Cost to Build a Bicycle
Building your bicycle is a special project that combines your taste with the practical side of assembling a bicycle. It’s not just about putting parts together; it’s about making something that fits you perfectly. This process can teach you a lot about “How Much Does It Cost to Build a Bicycle” how bicycles work and what you like. But, before you start, it’s important to know how much it might cost.
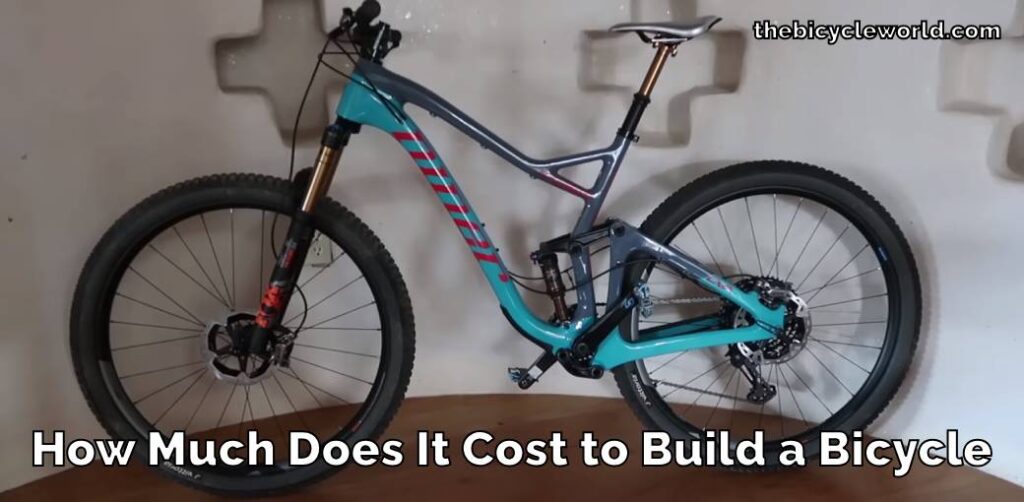
The cost of building a bicycle varies a lot. It depends on what kind of bicycle you want, the quality of the parts you choose, and whether you need special tools.
Generally, building a basic bicycle can start from a few hundred dollars and go up to a few thousand for high-end parts and tools.
Remember, choosing cheaper parts might save money now, but they could cost more in the long run if they need to be replaced often.
Think of building your bicycle as an investment in something unique that you’ll love to ride. It’s also a great way to learn and could even become a hobby. But, always make sure you know what you’re doing, especially when it comes to making your bicycle safe to ride. Safety should always be your top priority.
Why You Build a Bicycle
Choosing to build a bicycle goes beyond simply owning a mode of transport it becomes a highly personal journey that binds you to the machine in a meaningful way. When you build your bicycle, every nut, bolt, and gear is placed with intention, creating not just a vehicle, but a reflection of your decisions and preferences.

You decide everything – from the color of the frame to the style of the handlebars, enabling you to truly express yourself through your creation. This endeavor allows you to fine-tune each element, ensuring that your bicycle fits your physical needs and comfort perfectly, offering a ride that’s uniquely yours. The self-building journey doesn’t merely stop at personalization it fosters a rich, hands-on learning environment.
You become a student, absorbing knowledge about the functions and connections between various bicycle parts, from the tiny screws to the larger, crucial components like wheels and handlebars. Your fingers get familiar with the texture and weight of each part, while your mind quietly maps out the role of each component, enhancing your mechanical skills and insights along the way.
As you become fully involved in this captivating project, you not only end up with a personalized bicycle but also gain a fresh understanding and admiration for the artistry involved in crafting a two-wheeler, forging a connection that transcends mere ownership.
How Much Does It Cost to Build a Bicycle
Building a bicycle by yourself is like putting together a puzzle where each piece matters and affects your final riding experience. This process lets you choose exactly what you want, but it also means understanding the costs involved. Here’s a clear breakdown of what you might spend on different parts of the bicycle:
Frame
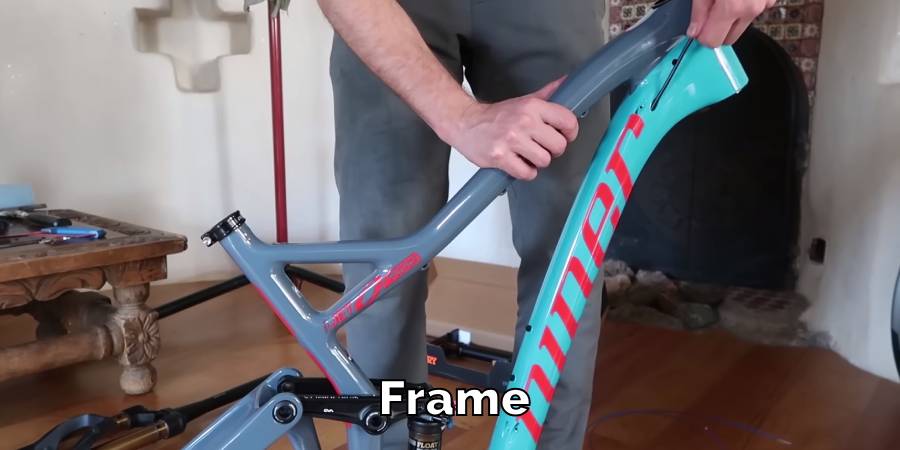
The frame is the heart of your bicycle. Prices vary a lot, starting from around $300 for a basic one. If you’re looking for something high-end, made from materials like carbon fiber, you could be looking at over $2,000. The frame’s cost depends on the material and the brand.
Wheels
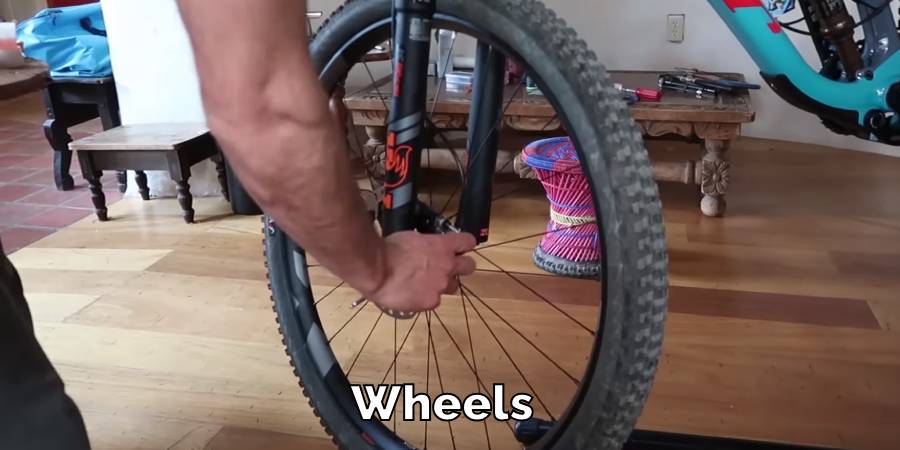
Wheels are crucial for a smooth ride and can cost anywhere from $100 for a basic set to over $1,000 for ones designed for specific activities like racing or mountain biking. The price changes based on the wheel’s material and design.
Drivetrain Components
These parts, including chains, cassettes, derailleurs, and shifters, make your bicycle move. A simple set might not be too expensive, but high-quality, professional-level components could cost between $200 and $1,500 or more.
Brakes
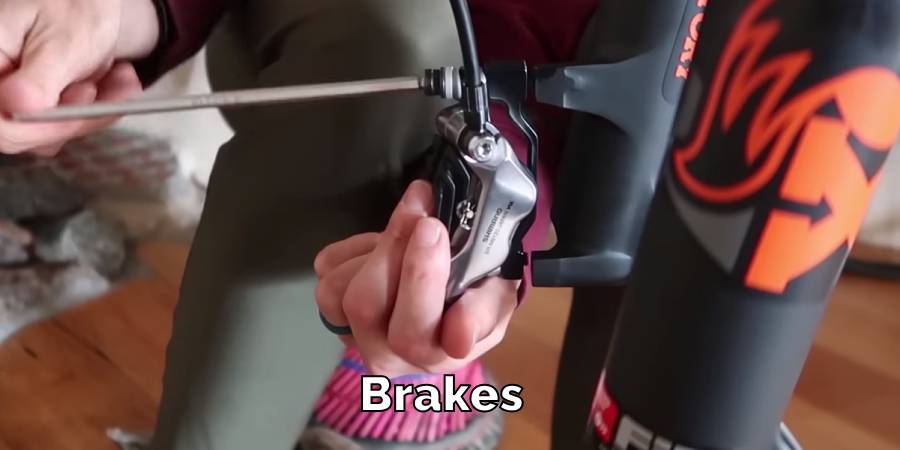
Good brakes are essential for safety. Depending on whether you choose mechanical or hydraulic disc brakes, you might spend from $50 to $500. The cost reflects their stopping power and technology.
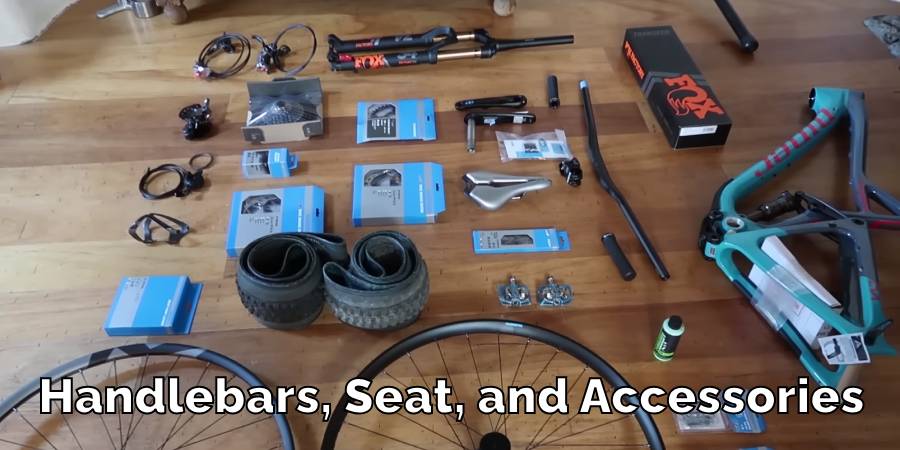
Handlebars, Seat, and Accessories
Customizing your ride with the right handlebars and a comfortable seat, plus any extra accessories, might add another $100 to $500 to your total.
Don’t forget about additional costs that aren’t immediately obvious. Shipping charges, especially for parts from overseas, and any customs duties can increase your total spending. It’s also wise to have a little extra budget for any unexpected expenses, like special tools you might need or parts that require replacement.
In essence, building your bicycle isn’t just about making something that can move; it’s about creating a ride that feels like a part of you. It involves picking each component carefully, understanding its role, and how it contributes to the bicycle’s overall feel and performance.
Knowing your budget and what you want out of your bicycle is key. This ensures that the money you spend translates into real value, giving you not just any ride, but an experience that’s truly your own. So, think about what you need, do your research, and get ready to build a bicycle that matches your style and preferences perfectly.
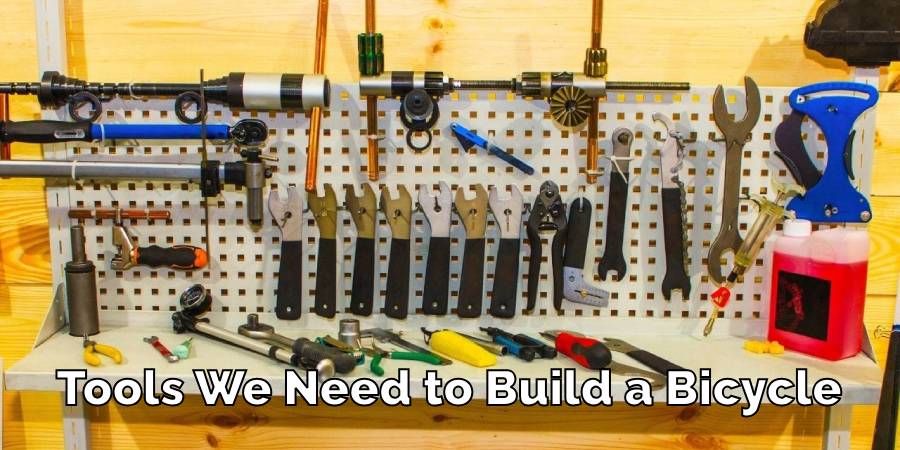
Tools We Need to Build a Bicycle
Building a bicycle isn’t just a matter of having all the right parts, but also having the right tools to bring all those parts together in harmony. Just as a chef needs knives and a painter their brushes, a bicycle builder needs a reliable set of tools to ensure that the assembly process is smooth, precise, and enjoyable. Let’s delve into a few of these indispensable tools:
- Bicycle Stand: A bicycle stand isn’t merely a holder it’s your third hand. It supports your bicycle, providing a stable platform and making it easier to work on various components without straining your back.
- Set of Allen Wrenches: Think of Allen wrenches as the keys to your bicycle kingdom. From securing bolts to making tiny adjustments, these hexagonal tools are vital in navigating through the assembly of every piece of your bicycle.
- Screwdrivers: The classic flat-head and Phillips screwdrivers play a pivotal role in managing screws across various components, ensuring everything is tightly fitted and secured.
- Chain Tool: Managing the chain, the entity that transfers your pedal power into motion, is crucial. A chain tool helps you adjust, remove, or affix chains with ease and precision.
- Cable Cutters: Your cables need to be sharp, clean, and precise to ensure optimal performance, and cable cutters provide you with the means to ensure that your brake and gear cables are cut accurately.
- Torque Wrench: When tightening bolts, a torque wrench ensures you apply the right amount of force, preventing over-tightening and under-tightening, safeguarding the integrity and functionality of each component.
- Bottom Bracket Tools: The bottom bracket is the heart of the bicycle’s turning mechanism. Specific tools designed for bottom brackets assist in ensuring that your pedals turn smoothly and efficiently.
- Spoke Wrench: For wheels that roll straight and true, a spoke wrench helps in making fine adjustments to the tension of the spokes on your bicycle wheels.
With these tools, not only will you be well-equipped to handle each part with care and precision, but you’ll also ensure that the assembly process is smooth and void of unnecessary interruptions and hurdles.
Each tool plays a significant role, ensuring that the components come together not just as a bicycle but as a well-oiled machine ready to hit the roads or trails with perfection.
How to Build a Bicycle
Taking on the satisfying project of building a bicycle entails more than simply joining parts. It’s a nuanced process that, when done with care and attention, results in not just a mode of transport, but a personalized creation that is uniquely yours. This step-by-step journey of bicycle assembly ensures clarity and simplicity in every step:
Assemble the Tools and Parts
Start by organizing all your parts and tools. Lay them out in a clear, orderly manner, ensuring that everything is within reach and easy to find.
Frame Setup
Begin by securely mounting the bicycle frame onto the stand. This step provides a stable base and ensures that subsequent components can be attached with ease and precision.
Install the Bottom Bracket and Cranks
Carefully affix the bottom bracket into the frame, ensuring a snug and secure fitting. Attach the cranks, paying special attention to alignment and stability, as this forms the essential pedaling mechanism.
Set Up the Headset and Fork
Gently slide the fork through the frame’s head tube. Installing the headset ensures that your fork is securely connected to the frame, and provides the pivot point for steering and stability.
Handlebar and Brake Setup
Carefully mount the handlebars to the stem, and subsequently, fix the brake levers and shifters. Ensure that cables run cleanly and without impediment to the respective components.
Wheel Installation
Properly align the wheels before securing them to the frame, ensuring that they are straight and spin without wobbling or touching the frame or brakes.
Fix the Drivetrain
Connect the chain, which transfers the power from your pedaling to the wheels. Make sure it is of optimal tension and running smoothly through the gear sprockets.
Brake Adjustment
Establish that the brakes provide ample stopping power and adjust as necessary to ensure safe and responsive braking.
Fine-Tune
Perfecting your build involves adjusting the saddle height for optimal leg extension, positioning the handlebars for comfortable steering, and double-checking all bolts and fastenings for security.
The key to a successful bicycle build lies in patience and meticulous attention to each step. The nuance of ensuring each component is appropriately adjusted not only guarantees a safe ride but also ensures that your bicycle operates at peak efficiency and longevity. Thus, the commitment you invest in building your bicycle will be rewarded with a tailor-made ride, crafted precisely to your liking and requirements.
Precaution while Building a Bicycle
Constructing a bicycle is an exciting venture, but a stitch in time, especially in ensuring safety and proper assembly, saves nine. Taking ample precautions at every step not only safeguards the builder but also ensures the longevity and safety of the bicycle in the long run.
Wear Safety Gear
Before the assembly journey, prioritize your safety. Putting on a sturdy pair of gloves can shield your hands from potential abrasions or cuts, while safety glasses protect your eyes from any particles or debris that might spring up during the process.
Double-check Component Compatibility
Meticulously ensure that every part you have is compatible with the others. This isn’t merely ensuring a pedal fits into its crank arm but verifying that all parts, from the smallest screw to the largest frame piece, can come together without force or awkward adjustments.
Follow Torque Specifications
Pay keen attention to the recommended torque specifications provided for each component. Over-tightening can result in damaging parts, while under-tightening can risk parts becoming loose during a ride. Utilize a torque wrench and adhere to guidelines to ensure optimal tightness.
Test Before Riding
Prior to taking your newly built bicycle for a spin, allocate time for a comprehensive check. Ensure every bolt is tightened, cables are taut and functional, and every part is in its correct place. Test the brakes and gears in a stationary position to ensure functionality and safety.
Handle with Care
Remember, bicycle parts, especially ones used in lightweight builds, can be delicate and susceptible to damage if mishandled. Always use tools and equipment gently and read up on specific care instructions for sensitive components.
Be Patient
Don’t rush through the build. Take your time to read through assembly instructions, understand each part’s function, and ensure that every component is installed correctly. Patience during the building process can prevent mishaps and errors that might compromise your ride.
Seek Expert Advice
If at any point you find yourself puzzled or in doubt, do not hesitate to seek advice. Online forums, instructional videos, or local bicycle shops can provide invaluable information to assist you through more complex stages of the build.
These precautions, while seemingly basic, are foundational in safeguarding you and ensuring that your bicycle build is structured, secure, and set up for many future rides.
Always remember, the care and attention you invest during the build will reflect in the performance and reliability of your bicycle on the trails and roads ahead. If you have any specific questions or need advice on a particular stage of the build, feel free to ask.
FAQs
How Much Would It Cost to Build Your Own Bicycle?
The cost of building a bicycle is subjective and highly depends on the type, brand, and quality of parts you choose. While one can manage to assemble a basic bicycle for a few hundred dollars, high-end components can escalate the total price into the several thousand-dollar bracket. Remember, apart from the primary parts, there might be additional expenses for tools, maintenance products, and any unforeseen replacements.
Is It Worth It to Build a Bicycle?
Building a bicycle from scratch offers a unique sense of satisfaction, customization, and an unparalleled connection with your ride. For enthusiasts eager to tailor every aspect of their bicycle or into the mechanics of their machine, it’s undoubtedly a worthwhile experience. On the flip side, if you’re primarily concerned about budget or quick availability, opting for a ready-made model might be more practical.
Is It Hard to Build a Bicycle?
Building a bicycle demands patience, meticulous attention to detail, and a bit of mechanical know-how. While it might seem daunting at first, having a comprehensive guide, the necessary tools, and a bit of dedication can make the process more manageable and enjoyable. It’s all about the journey of learning and the joy of creating something with your own hands.
Can Anyone Build a Bicycle?
Certainly! Building a bicycle doesn’t require professional expertise. While prior knowledge can be beneficial, even beginners, with determination and access to the right resources, can successfully assemble their bicycles. The internet is filled with detailed guides, video tutorials, and communities eager to assist newcomers in their bicycle-building adventures.
What Tools Do I Need to Build a Bicycle?
The right tools play a pivotal role in ensuring the smooth assembly of a bicycle. Key tools, as mentioned before, encompass a bicycle stand to hold your frame securely, Allen wrenches for various bolt sizes, a chain tool for fitting the chain, and other essential items like screwdrivers, cable cutters, torque wrenches, and more. Investing in good quality tools not only eases the building process but also ensures the longevity and safety of your bicycle.
Conclusion
Building a bicycle from the ground up offers an intricate blend of challenge and satisfaction. Each piece, each bolt, and every decision you make shapes the final product. The range in cost for constructing a bicycle is vast, driven largely by the choices one makes regarding parts, brand, and design.
This DIY project provides an in-depth exploration into the world of bicycle mechanics, granting a first-hand look into how each component plays its part in the larger mechanism. While it does require a substantial commitment in terms of time, resources, and effort, the outcome is a unique bicycle that stands as a testament to your dedication and craftsmanship.
Imagine the joy of riding down a path, feeling every turn and pedal, and knowing you’ve put it all together. It’s more than just transportation it’s a creation, a project, and a personal achievement. For those looking for a hands-on, enriching project and a ride that resonates with personal choices, assembling your bicycle offers an experience like no other.
Read also – How to Date a Western Flyer Bicycle

How to Carry Bike on A Scooter?
The swift agility of a scooter with the pedal-powered pleasure of a bike isn’t just…

Where To Put Keys While Cycling?
Hey there, cyclists! Keys might seem like a simple thing, but listen up – keeping…

How to Lock Multiple Bikes Together?
Heading out with friends or family for a bike ride? Great idea! But let’s not…

How to Carry Boxes on A Bike?
Choosing your bike over a car is kind to the earth because you’re not causing…

How to Carry Musical Instruments on A Bike?
On a venture where the harmony of biking intertwines with the rhythm of music, I…

How to Carry a Yoga Mat on A Bike?
Mixing cycling with yoga offers a unique blend of benefits, including a heart-healthy warm-up from…